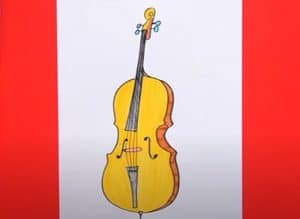
How To Draw A Cello easy with this how-to video and step-by-step drawing instructions. Easy drawing tutorial for beginners and everyone.

Please see the drawing tutorial in the video below
You can refer to the simple step-by-step drawing guide below
Step 1
Start your first step by creating two shapes. The top shape is a circle and the bottom shape is like an egg.
Step 2
Now you will draw the coil, peg box and neck of the cello as you see here. The neck is also where the fingers are placed.
Step 3
Next, outline the entire body of the cello, and if I were to name the regions of the body, I would show that the top part of the cello is called the top and the dip is called part C. The design of the cello is very specific, that’s why they give a very specific sound.
Step 4
As you can see, you will now move on to drawing swirls like the shapes called F holes. The middle bar between the F holes is called the bridge rod, and the part below the bridge is called the tail rod. At the bottom of the tail of the machine is the end pin or end button. Draw all of these components like that, and then outline the details in the corners of each end of the cello’s design.
Step 5
Here you will outline the design of the roll on the sides at the top of the cello. Next, draw the tuning keys and then move on to step six.
Step 6
For the final drawing step, all you have to do is sketch the detail into the peg box first, and then draw the four strings as well as the modifiers at the base of each wire. Once that’s done, you can erase any mistakes as well as the guides that you drew in step one and along the way.
Step 7
Now that you’re done, you can color in your cello to complete the design. I hope you enjoyed this tutorial as much as I did.


