How to draw Mandalorian easy with this how-to video and step-by-step drawing instructions. Pencil drawing tutorial for beginners and everyone.
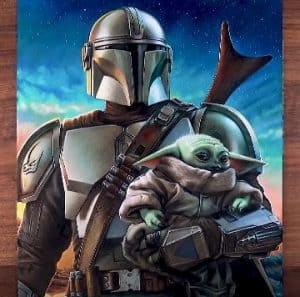
Please see the drawing tutorial in the video below
You can refer to the simple step-by-step drawing guide below
Step 1
First we draw a stickman. This is a little man of sticks and circles where we outline the character’s posture, proportions and position on a piece of paper. Here we see an asymmetrical chest, its head resembling an elongated oval and a small pelvis.
The right hand forms an obtuse angle and the left hand looks like a straight line. Legs have minimal flex. Be especially careful in this step. This is the most important stage of the whole article.
Step 2
We connect the chest and pelvis by smooth curves to get a smooth narrowing in the waist. Please note that in this step, a border appears on the upper chest. Then we can connect the head and chest to get the neck. It should be a solid short cylinder.
At the end of the steps, we outline two facial curves. The vertical line divides the face into two equal parts. The horizontal line indicates the position of the eye, more precisely the eye’s opening on the helmet.
Step 3
Now let’s outline the contours of the hand. The shoulder looks like a cylinder and the forearm looks like a cone. Fists are large polygons. The joints look like joints. If you don’t know where your shoulder or forearm is, you should check out the lesson on drawing a Roman soldier.
Step 4
In this step we will work with the contours of the legs. Thighs tapered toward the knees. The shin first widens slightly and then contracts quite forcefully. Our bounty hunter’s feet have a different shape due to angle and posture.
Step 5
Now we have a silhouette of a certain character. Give it the characteristics and attributes of a bounty hunter. We will start with a helmet. First we draw a cut line for the eyes. We will then turn this slot over in the shape of a cross. At the end of the step we will draw curves on the side parts of the helmet bottom.
Step 6
Great, and now it’s time to work on the approximate contours of the armor. This is really a very simple step. Here we outline the outline of the armor plate on the belly of our warrior. Then, we will draw a belt around the waist and a belt running diagonally to the body of the shirt.
Also in this step, we outline the small short lines inside the fist to outline the fingers. Don’t forget to provide light shoulder and forearm protection.
Step 7
We depict the contours of the lining that lie behind the back of our hero. Also in this step, we will depict the highlights of the armor on the hips and legs.
Step 8
We have almost completed a tutorial on how to draw Mandalorian. In this step we will work with small details. First of all, we will draw the contours of the armor on the body. Then we will describe the cartridges mounted on the cross-belt. Then we draw a belt buckle and horizontal pockets from it. With the last stroke, we will outline the small creases on Mandalorian’s shoulders.
Step 9
We will do the same job with our character’s arms and legs. We detail these parts of the body and add essentials such as the folds of tissue and the final contour of the fingers. Don’t forget about the cut edge of the coat.
Step 10
It’s time to appreciate our full drawing. Here we must evaluate the proportions, posture, the correctness of the individual factors and the fine details. It’s a bit like an armored Batman, doesn’t it?
If you don’t find any errors, you can safely remove the excess instructions and go to the next steps.
Step 11
Once the work with basic contours and additional details is completed, the shading can be safely carried out. To apply the correct shadows we must first determine which side the light source is on. Then, we outline the approximate boundaries of the shaded areas. In our case, these are the parts of the helmet under the curves, as well as the edges of the torso and limbs.
Step 12
The final result of our drawing lesson should look like this.
So we have finished the tutorial on how to draw the mandala. Things get interesting to you, right? Don’t forget to let us know in the comments about all the problems you encounter in this lesson.
