How to Draw a Hand Sanitizer easy with this how-to video and step-by-step drawing instructions. Easy drawing tutorial for beginners and kids.
Please see the drawing tutorial in the video below
You can refer to the simple step-by-step drawing guide below
Step 1 – Draw the outline of the bottle
Start by sketching the main part of the bottle shaped like the image above. It looks a bit like a rectangle with rounded corners at the bottom and a roof-like house at the top.
Step 2 – Draw the lid
Add the cap to the main body of the bottle. Give this section rounded corners but this time at the top.
Step 3 – Draw the pump parts
From the cap going up, draw some parts of the pump mechanism. In this case, they will look like two rectangles stacked on top of each other with the bottom shape but with slightly rounded corners on its top face.
Step 4 – Drawing Pump Actuator
At the top of the pump mechanism, add the actuator (sanitizer dispenser). You can draw its shape like in the example.
Step 5 – Draw Labels & Finish Line Drawing
Complete the line drawing by adding a label to the bottle. You can display it with just a couple of lines. As mentioned at the beginning of the tutorial, you really don’t need to add any text to the label but you can if you want.
Next, confirm that you like how your drawing should look and sweep it over with a black pen or marker.
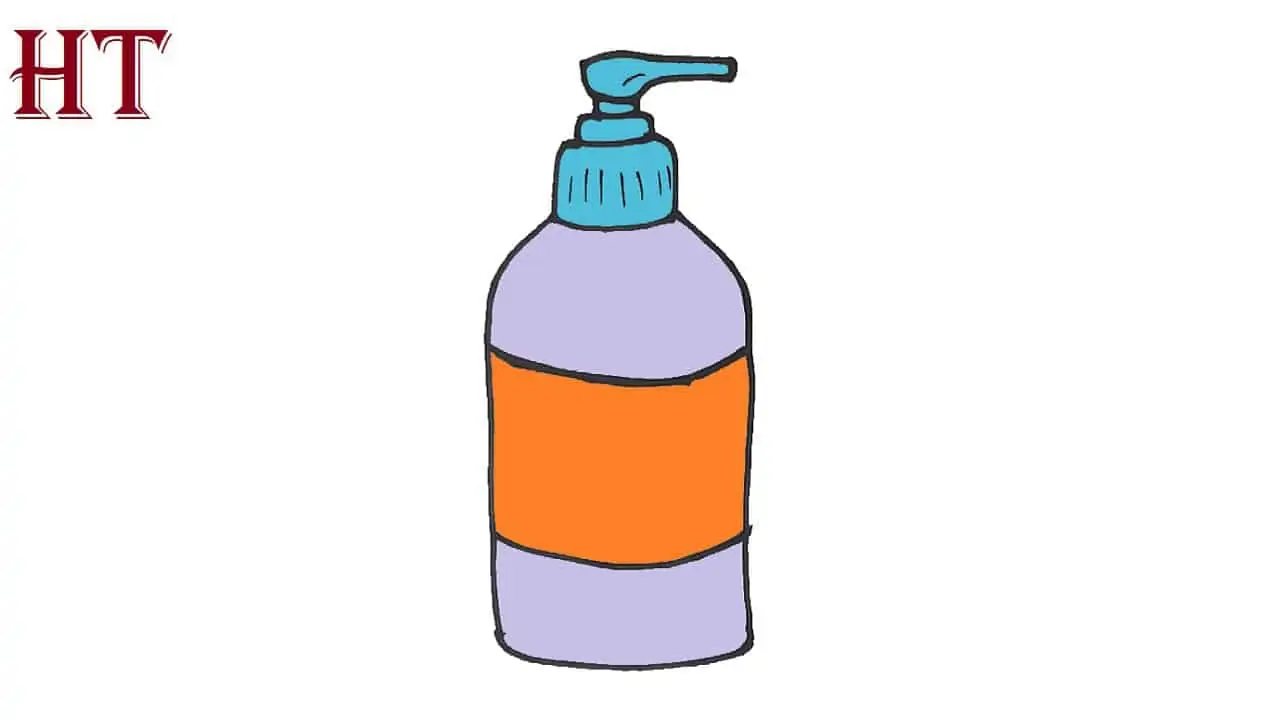
Step 6 – Coloring Hand Sanitizer
Detergent bottles tend to be transparent and slightly gray, so you can polish the bottle with a regular pencil. You can make the lids/labels any color you like but in this case they will be blue and light orange/yellow. You can pretty much use any medium you like to color these (markers, paints, crayons, etc.).


