How to draw a French Toast with this how-to video and step-by-step drawing instructions. Easy food drawing tutorial for beginners and everyone.
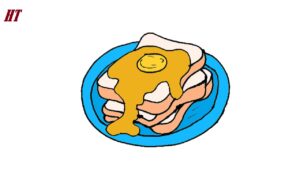
Please see the drawing tutorial in the video below
You can refer to the simple step-by-step drawing guide below
Step 1. Draw the Butter
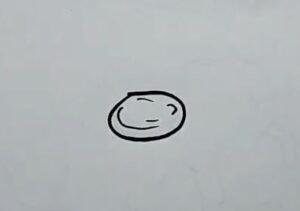
Start by drawing the butter for the French toast by creating a circle. Draw lines inside the shape similar to the illustration to add some details to the butter.
Step 2. Add the Syrup
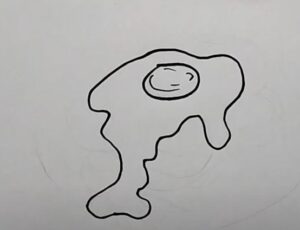
Add the syrup dripping over the stack of French toast by drawing squiggly lines as shown. Have fun here, it doesn’t have to be perfect!
Step 3. Draw the First Toast Shape
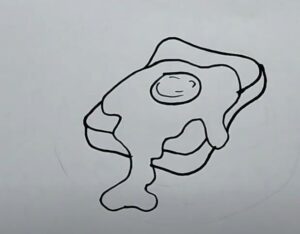
Draw the shape of the French toast by creating a rectangle with rounded corners. Highlight the convex corners as shown.
Attach the crust by drawing a line following the shape of the French toast.
Step 4. Stack the Toast
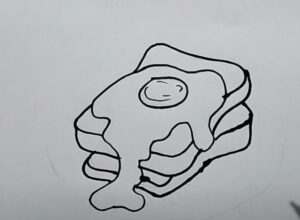
Let’s start stacking the French toast slices! Sketch another slice of French toast underneath the first one we drew. Draw the crust on the second slice of bread by creating a line following the shape of the top edge of the bread slice.
Step 5. Add Another Slice
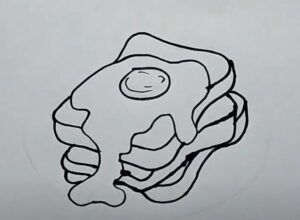
Let’s add another slice of French toast to the stack! First, draw the outline of the bread. Then, glue the crust just like you did with the other slices of bread.
Step 6. Draw a Plate
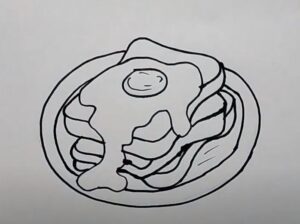
Then, draw a plate by creating two ovals underneath the stack of French toast.
Step 7. Finish the French toast drawing

Let’s finish the French toast drawing by first coloring the toast with a light brown color. Now, color the crust with orange. Next, pour the syrup with a mixture of dark orange and brown. Then, color the plate with blue.

1
4.5