How to Draw a Christmas Star with this how-to video and step-by-step drawing instructions. Grab some art supplies and follow along with these basic 6 drawing steps. You will learn the fundamentals for drawing christmas star.

Please see the drawing tutorial in the video below
Christmas Star Drawing step by step
Step 1. Draw the first star wing
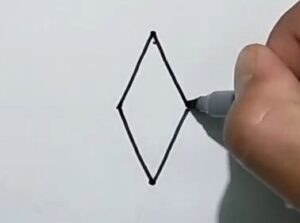
First, draw the first wing of the star with a diamond shape pointing upwards.
Step 2. Describe the thickness of the star wing
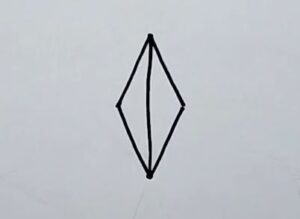
Then draw a straight line dividing the diamond shape in half to describe the thickness of the star as shown in the illustration.
Step 3. Draw two star wings on the side
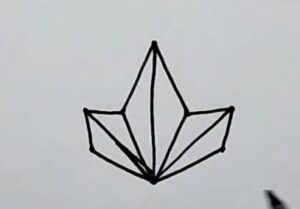
Next, similar to the way to draw the first star wing, draw two shorter star wings on both sides of the first star wing with a 45-degree angle pointing upwards.
Step 4. Draw 2 star wings horizontally
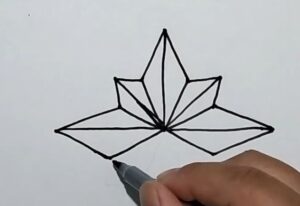
Continue to do as above, draw two stars horizontally and it has the same size as the first star wing.
Step 5. Draw the remaining star wings
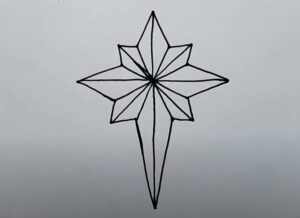
Finally, draw the longest star wing below, on both sides are two short star wings also with a 45-degree angle pointing downwards.
Step 6. Color your drawing

Take out your crayons or colored pencils and start coloring the Christmas star! We can use different shades of yellow to make the star look golden and shiny!
