How to Draw a Cereal Box with this how-to video and step-by-step drawing instructions. Easy drawing tutorial for beginners and all.
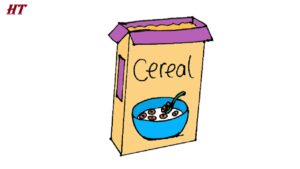
Please see the drawing tutorial in the video below
You can refer to the simple step-by-step drawing guide below
Step 1. Draw the Cereal Box Lid
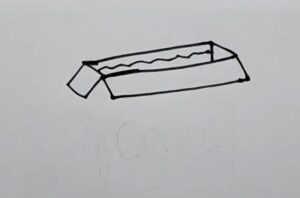
First, draw the lids by creating rectangles that attach to the opening of the box, followed by a rectangle for the mouth of the box, draw the inside of the cereal box by creating a rough line. Also, draw the visible corner inside the box by drawing a vertical line as shown.
Step 2. Draw A Rectangular Box
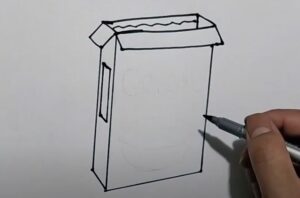
Draw a rectangular box to form the cardboard body of the cereal box.
Step 3. Write the Text
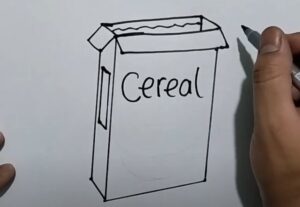
Write the text “Cereal” on the cereal box.
Step 4. Draw the Cereal Bowl Icon
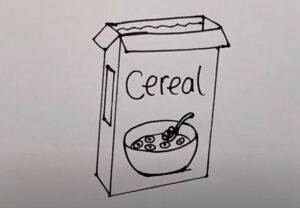
Draw a spoon by forming an oval. Next, draw the handle by attaching an oblong shape. Then, add the cereal pieces by drawing small circles, next outline the rim of the cereal bowl by creating an oval, draw the body of the cereal bowl by creating a U shape, add the milk by drawing a wavy curve inside the bowl. Then, add the cereal by drawing small circles as shown.
Step 5. Finishing the Cereal Box Drawing

Finish the cereal box illustration by shading the box primarily with orange. Shade the edges of the box with a darker shade to add depth to our drawing. Next, shade the edges of the box with a dark red. Now, shade the cereal box label and the inside of the cereal box with purple. Shade the cereal bowl with a blue crayon and the spoon with a green crayon. Finally, shade the milk with white and shade the cereal pieces with brown.

