How to Draw a Black Marlin easy with this how-to video and step-by-step drawing instructions. How to draw a fish for kids and everyone.

Please see the drawing tutorial in the video below
You can refer to the simple step-by-step drawing guide below
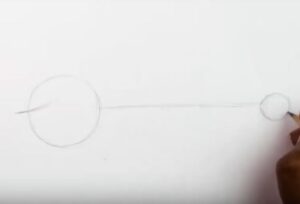
Step 1. Sketch the frame

First, to draw a fish easily, we create a frame for the fish with two circles spaced apart as shown, the left circle is larger than the right circle.
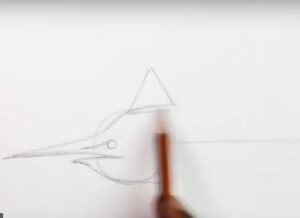
Step 2. Start drawing the fin

Next, on the large circle, draw a triangle to mark the dorsal fin, and a small circle to sketch the tail fin.
Step 3. add more parts

Draw a sketch of the head with a pointed and long mouth, the upper jaw is longer and sharper than the lower jaw.
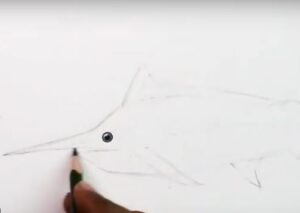
Step 4. add eyes

Draw small circles on the head for the eyes.
Step 5. Draw the fish’s body

Next, complete the fish line by drawing the fish’s head and tail.
Step 6. Draw more fins

Draw the complete frame of the fish’s fins. Then erase the mistakes and initial frames and move on to the next part which is using colored pencils to create a realistic fish.
Step 7. Paint eyes

Use a black pencil to darken the fish’s eyes.
Step 8. Color the background

Use a light blue pencil to paint all over the fish’s body as the background color, taking care to only paint very lightly for the background.
Step 9. Paint the fins and body above the fish

Use navy blue to highlight the fish’s fins and the upper half of its body.
Step 10. Paint the lower half of the body

Use a green pencil to lightly color the lower part of the fish’s body, paying attention to creating stripes along the fish’s body with a darker green color as shown.
Step 11. Finish the fish

Finally, use a black pencil to paint over the fins and the upper half of the fish to create the actual color of the fish. This step needs to be done meticulously and takes more time.


lil rat daog smash ur head in slow down