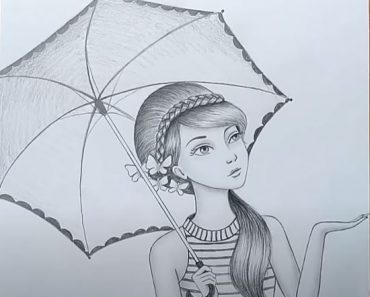
How to Draw a Beautiful Woman‘s face easy with this how-to video and step-by-step drawing instructions. Pencil drawing tutorials for beginners and everyone.
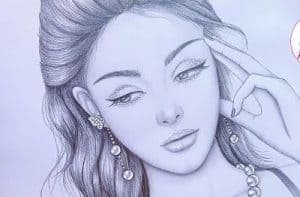
Please see the drawing tutorial in the video below
You can refer to the simple step-by-step drawing guide below
► Used things:
1. Pencil Name – DOMS ( zoom ultimate dark) || You can use 2B Pencil.
2. Paper name – Double A Offset paper (A4 size).
3. Blending Stump ( You can use Cotton buds / Paint brush / Tissue Paper instead of this blending stump).
4. White Gel Pe.
Step 1
Face shape Draw a circle and make a small horizontal line at the bottom for the chin. Its position should be about half the diameter of the vertical circle.
This is important because the circle is drawn freely, so the horizontal diameter may be different.
Women tend to have shorter chins than men, so a long chin can present a more masculine appearance. When you’re done, draw a jawline to connect the circle to the chin. Women have all kinds of face shapes, but for this example, I’ll choose a face that’s slimmer, smoother, and less angular.
Finally, use a ruler to draw a blurred line down the center of the face vertically.
Step 2: Face Drawing Tutorial
Measure the length of the face and take the ruler across with your drawing using a straight edge.
Then divide it into 8 equal lengths. Mark each tick as shown on the left, and when you’re done, use a ruler to carefully draw faint lines across the face through the ticks labeled: CENTER LINE, 2, 3, A and C If you’ve gone through this tutorial a few times and want to try it without a ruler, draw your lines in the following order: CENTER, 2, 3, B, A, C, basically Copy is bisecting parts of your drawing over and over again.
Example: Click here for a SIMPLE version of this tutorial. It’s a faster method and it’s also paired with a video!
Step 3: Draw the eyes
On the CENTER line, draw 4 ticks that divide the face into 5 equal spaces horizontally. If you’re like me and you drew a very narrow cheek/jaw line, you’ll want to account for the full diameter of the circle (Two dotted lines mark the full diameter of the head).
As you draw the eyes, note that women often have wider and more open eyes than men. If you want to learn how to draw realistic eye shapes and how to properly size your irises, visit this tutorial. And click here for a super detailed video tutorial + how to draw realistic eyes.
Step 4: Nose
To draw the nose, extend the two lines in the inner corner of each eye to Line 3.
This will act as a guide for the width of the nose. If you’ve read my tutorial on how to draw a nose, place your circle above Line 2. I will draw a short, narrow nose with a narrow bridge.
Step 5: Eyebrows
The figure on the left shows the top of the brow bone. I add this so you can see how naturally the eyebrows are positioned relative to the bone structure. In the image on the right, you can see the eyebrows drawn below Line C.
For a surprised expression, the eyebrows will be pulled up near Line C. Click here if you want to learn how to draw real eyebrows.
Step 6: Lips
From the center of each iris, draw a vertical line down to Line 3. This will give us a boundary for the mouth. If you’ve been practicing my lip tutorial, place your triangle under your nose.
The base of the triangle should be drawn inside the square. The top of the triangle should extend to any position of the base of the nose. After contouring your lips, you may feel the need to lengthen or shorten your chin so that it is more in balance with the rest of your face.
This is completely normal. Happens to me all the time. That’s why it’s important to draw with blurred lines so you can easily fix things up.
Step 7: Tai
The CENTER line and Line 2 are the common boundary of the ears. You can learn how to draw realistic ears here.
Step 8: Hair
When drawing women’s hair, keep in mind that women usually have narrower and shorter foreheads than men. I drew my character’s hairline just below Line A and added more hair at the temples, making sure not to get it too close to the eyebrows.
Remember to add volume to your hair by leaving plenty of space between your head and hair. For a more detailed tutorial on how to draw hair, visit this tutorial this tutorial. I want to do one last check before deleting all my guidelines. Check if facial features need to be changed. Perhaps you want to change the length of your nose or the shape of your eyes.
When you are satisfied with your result, use a stiff eraser to erase all the lines. An electric eraser works very well for this type of work. After cleaning those lines, I like to use a kneaded eraser to spot the black spots from where the lines intersect with my drawing.
This tutorial focuses only on structure and proportions. If you want to learn how to shade your face, visit this page.
It’s time to test!
After you have mastered the drawing method above, try drawing faces without a ruler. Here are a few faces I created using raw measurements. Expand your imagination and get comfortable with drawing faces quickly. How many faces can you draw in 20 minutes? If this guide was helpful to you and you want to see more, please share it with your friends. Your support will help me create more quality, free tutorials!
