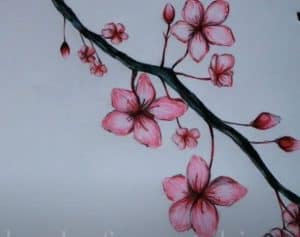
Cherry Blossom Drawing easy with this how-to video and step-by-step drawing instructions. How to draw a Flower for beginners and everyone.

Please see the drawing tutorial in the video below
You can refer to the simple step-by-step drawing guide below
Step 1
Draw three circles, like that, and make sure they are positioned where you see them here.
Step 2
Sketch the actual little points in the center of each shape like you see here, then draw lines like the ones around and attach to the little inner circles you just created.
Step 3
Yes, I know this looks weird. At the end of each impulse you just drew, draw smaller circles at such ends. Don’t get frustrated just take your time.
Step 4
Okay, let’s start drawing pedals on each fruit and notice how they only have five petals on each flower or bloom.
Step 5
Here you will start drawing branches for the flowers and notice the uneven lining and full of bumps. The sakura tree is a tree not a plant that produces fragile stems. Sketch some of the wilted leaves like this, and move on to step six.
Step 6
For the final drawing step, all you have to do is sketch out some serrated leaves on the branches or branches as you see here and a few slender stems like stems under the flowers or inflorescences. Erase all the lines and shapes that you drew in step one.
Step 7
This is what your drawing will look like when you’re done. Now you can have a blast as you color to your liking.


No Responses