Bearded Dragon Drawing easy with this how-to video and step-by-step drawing instructions. Easy animals to draw for beginners and kids.
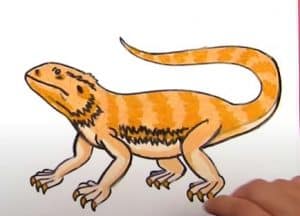
Please see the drawing tutorial in the video below
You can refer to the simple step-by-step drawing guide below
Step 1
First, let’s start with drawing the guide lines, making sure that the shapes are even and as close to this step as possible. Try not to rush the tutorial because a lot of your future lines depend on their exact shape.
Step 2
What you will do next is draw out the actual shape of the lizard’s head, then create a colored dot on the side of the head near the temple. The head should be drawn so that it looks elongated.
Step 3
Here you will draw out the eyeball, then add the half-closed eyelid. Draw the mouth line, then start adding details to the nose and neck.
Step 4
Now that the head is positioned, you will start drawing the body. Draw the foot first, then the hand or foot first. Add details in the form of wrinkles, then you’re done.
Step 5
From here on, things start to get easier. You will continue to draw the body. Draw the back and the same line for the tail until it forms a nice curl that reaches his hind toe on his foot. Draw the hing foot then you can proceed to step six.
Step 6
On the head, draw fine lines of thorns on either side of the head, then draw the full beard types. Outline texture arrays in scale, then you’re done. Clear the errors to clean up the drawing.
Step 7
This is your bearded dragon. If you have followed the steps, it should all look like what you see here.
