How to Draw a Candy Bar with this how-to video and step-by-step drawing instructions. It’s best if we observe the shape and size of each part of the candy bar.
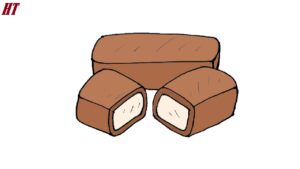
Please see the drawing tutorial in the video below
You can refer to the simple step-by-step drawing guide below
Step 1. Start with the Filling
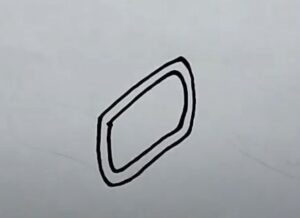
Draw a set of slanted rhombuses near the middle of your paper.
Step 2. Add the Top of the Candy Bar
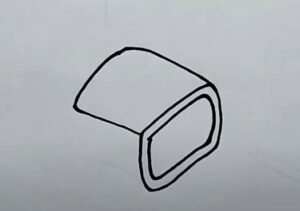
Then sketch out the tops of the candy bar.
Step 3. Add the Sides
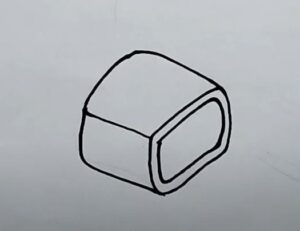
Finish the candy bar halves with another rectangle on the side. This will make the candy bar look 3D.
Step 4. Add the Other Half
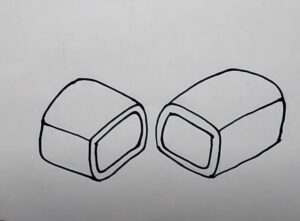
Complete the rest of the candy bar in the same way.
Step 5. Draw the Entire Candy Bar
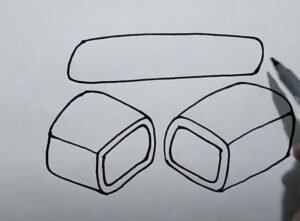
Continue with the entire candy bar by drawing a long rounded rectangle behind your first drawing.
Step 6. Finish the Candy Bar
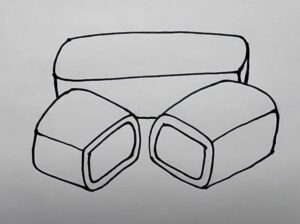
Then finish the sides of the candy bar.
Step 7. Add Details
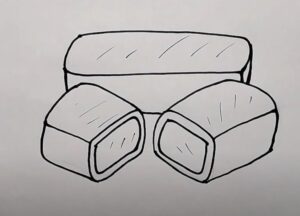
Finally add some lines to the candy bar to make it look more realistic.
Step 8. Color Your Drawing

Take a colored pencil and color in your candy bar.

5
4.5