How to Draw a Student with this how-to video and step-by-step drawing instructions. Included are 8 easy steps to follow, beginners will enjoy creating their own student wearing a backpack.

Please see the drawing tutorial in the video below
You can refer to the simple step-by-step drawing guide below
Step 1. Form the head
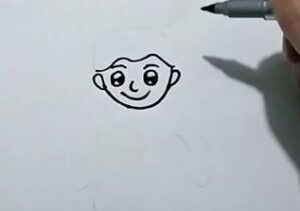
Draw a U-shaped line to outline the student’s head. Add small C-shaped lines attached to both sides of the head to form the ears. Now add two circles for the eyes and curved lines above them for the eyebrows. Then, draw a small curved line in the middle of the head for the nose and a slightly longer curved line for the mouth.
Step 2. Sketch the hair
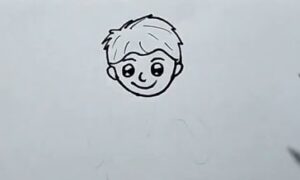
Outline the shape of the hair on top of the head.
Step 3. Sketch the backpack’s straps
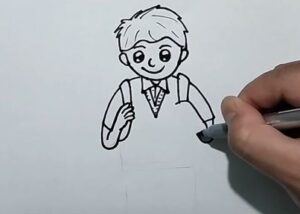
Sketch the straps of the backpack the student is holding.
Step 4. Arm formation and hand
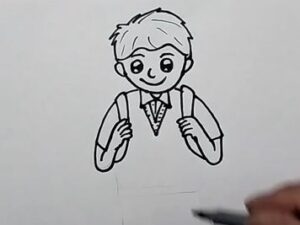
Start by drawing the sleeves that connect to the base of the head. Then add the bent shape of the student’s arm. Attach the hand shape to the end of the arm.
Step 5. Body formation
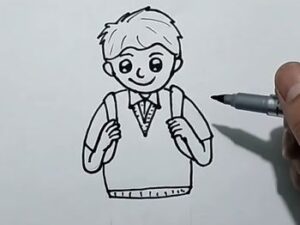
First, draw two triangles for the collar. Then, create the shape of the vest as shown.
Step 6. Draw pants
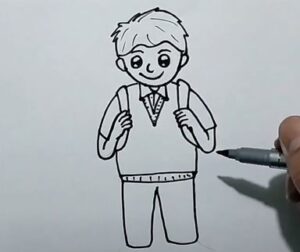
Draw the vertical shape of his pants.
Step 7. Sketch the shoes
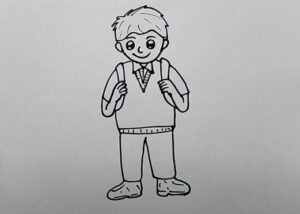
Outline the shoes at the bottom of the pants.
Step 8. Complete the student’s drawing

Make your students’ drawing exciting and lively! First, color the eyes and shoes black. Next, color the hair and pants with brown. Now, color the skin with peach color. Then, color the shirt with white and the vest with dark blue. Finally, fill in his backpack straps with an orange pen.


