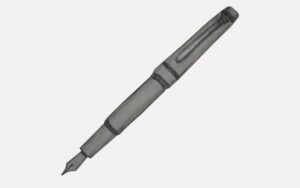
How to Draw a Fountain Pen with this how-to video and step by step drawing instructions. This easy fountain pen instruction guide is perfect for fairly young students looking to get started with

Please see Fountain Pen drawing tutorial in the video below
You can refer to Fountain Pen simple step by step drawing guide below
Step 1. Draw the fountain pen cap
Begin by drawing an elongated shape to form the fountain pen cap.
Step 2. Attach the Clip on the Hat
Next, add a rectangle near the top of the fountain pen cap. Then, form the thin wavy shape of the clip.
Step 3. Shape the pen body
Form the cylindrical body of the fountain pen underneath its cap.
Step 4. Sketch the metal nib
Sketch the pointed shape of the metal nib.
Step 5. Create slots and vents
Draw two lines to form the slit and add a circle to form the vent on the nib.
Step 6. Complete the fountain pen drawing
It’s time to add elegance to your fountain pen! First, use black and yellow to color the body and cap of the fountain pen. Now, use a darker yellow color to color the nib. Then, use a brown pencil to fill in the vent hole on the nib.


