How to draw Venom (Tom Hardy) from the movie ‘Venom, 2018 (Sony’s Marvel Universe)’ by pencil with this how-to video and step-by-step drawing instructions. Pencil drawing tutorial step by step for beginners and all.
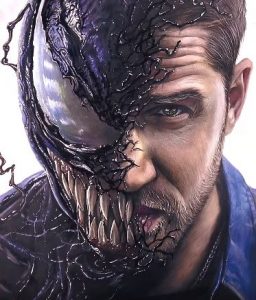
Please see the drawing tutorial in the video below
Draw a famous movie character with a pencil just like the picture! You can also do it, please keep practicing.
You can refer to the simple step by step drawing guide below
This is an advanced drawing tutorial that requires you to have some basic drawing knowledge and skills. If you are new to drawing, you can practice gradually.
Step 1. Draw Tom Hardy’s eyes
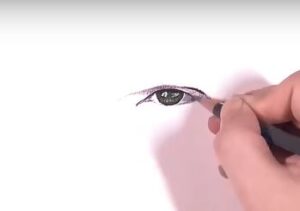
First draw Tom Hardy’s realistic face with one eye, this is the human face.
Step 2. Deploy faces
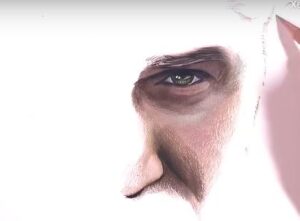
Continuing to shape the side of Tom Hardy’s face, we need to carefully develop the facial skin around his eyes.
Step 3. Finish one side of Tom Hardy’s face
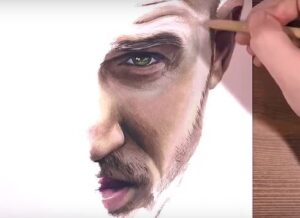
Continue painting and drawing his face with ears, nose, mouth and hair.
Step 4. Add details
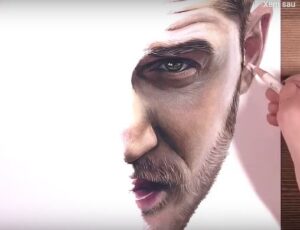
Continue adding meticulous detail on the side of Tom Hardy’s face with whiskers, wrinkles and hair that will help make him look realistic.
Step 5. Draw the mouth on the side of Venom’s face
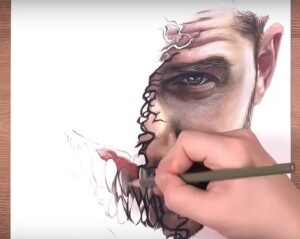
Switch to the other side of the face and draw a long mouth full of sharp teeth for the venomous face.
Step 6. Add eyes
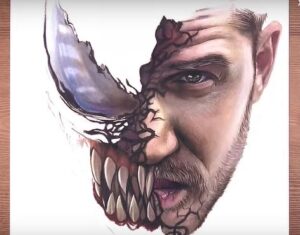
The venom’s face has a large shape with a characteristic white semicircle.
Step 7. Finish the venom side
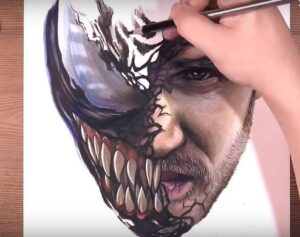
We continue to complete the other side of the venom’s head with details such as blood streaks on the border of both sides of the face and on the top of the venom’s head.
Step 8. Finishing Venom (Tom Hardy)

To complete, we continue to add details such as the neck, shoulders, and chest for Venom (Tom Hardy). It is necessary to carefully check and erase some mistakes and complete your drawing. Of course, to draw a realistic picture of Venom (Tom Hardy) with colored pencils perfectly, you need more time to practice. Wishing you success with your passion!


Bro your insane at that that’s the best I’ve ever seen your like da Vinci level that’s sick how much do you offer for it
can you make it slower
ok
HOW DO YOU DRAW THAT REALISTIC OF A VENOM!!!!!!!!!!!!??????????
I love your anime
thank you!
5