How to draw timmy turner Easy with this how-to video and step-by-step drawing instructions. How to draw cartoons for beginners and kids.
Please see the drawing tutorial in the video below
You can refer to the simple step-by-step drawing guide below
Step 1
Check out this show on the go and start this first step by drawing out instructions and shapes for Timmy Turner. Start by drawing a large round ball for his head and follow the instructions on the face. Next, draw the square of his body. Now from these shapes you just drew, draw the attached principles.
Step 2
As you can see, you are slowing down his features. Draw his eyebrows as long boxed squares and the shape of Timmy’s hat. Now draw a “C” shape for his ear. Scroll down and draw the shape of a golf club for his hand and then his pants and shoes.
Step 3
You are almost done drawing Timmy. Here you will draw out his face shape as shown. The lining for his face shape is simple, just think of a balloon. Now draw the guide lines for his hair, then draw his small round nose and front tooth shaped like a shovel. Finish this step by drawing the details of his coat, ears and fingers.
Step 4
For this final step, you will draw two large circles for Timmy’s eyes. Draw two smaller circles for his students as shown and shade them inward. Draw a line in the middle of his teeth and then draw details on the right side of his jacket and pants. Erase all the principles and shapes you drew in step 1.
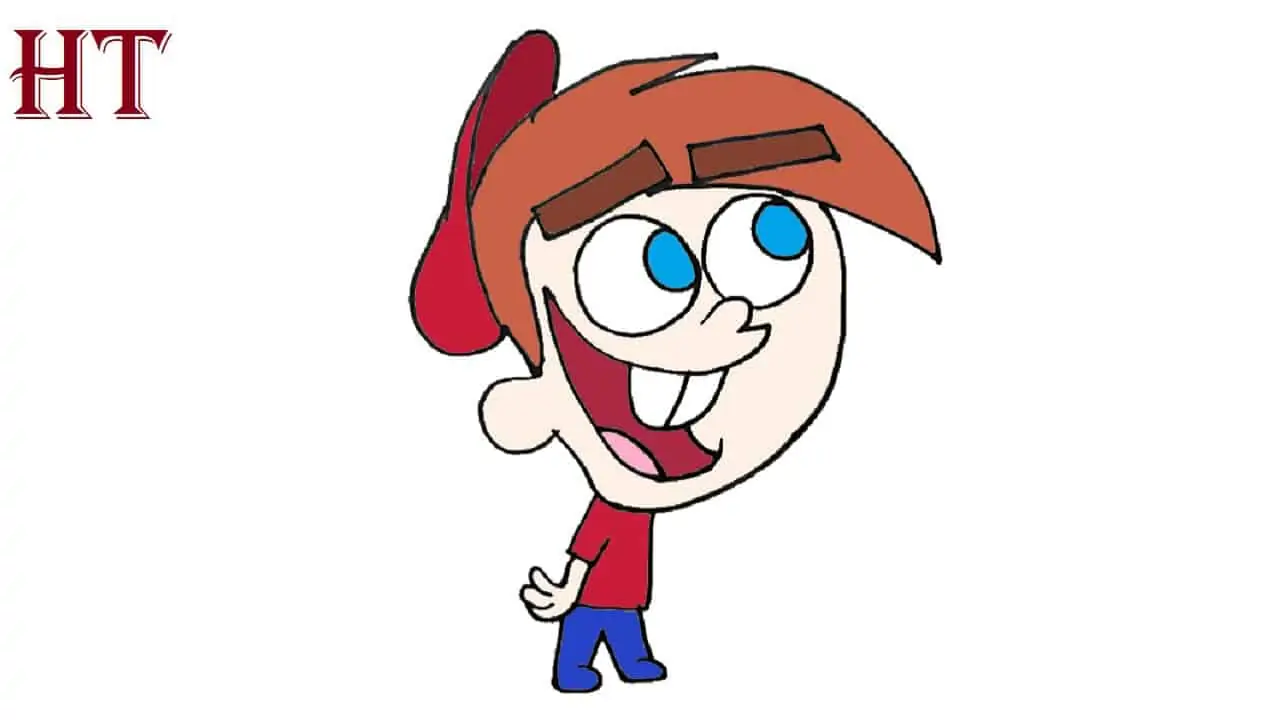
Step 5
And this is what your Timmy Turner will look like when you’re done. All you have to do now is color him and you are officially done with your drawing. That should do the trick for this Timmy Turner drawing tutorial from Pretty Quirky Parents


