How To Draw The Solar System easy with this how-to video and step-by-step drawing instructions. Easy drawing tutorial for beginners and kids.
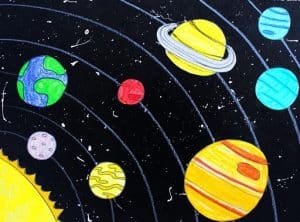
Please see the drawing tutorial in the video below
You can refer to the simple step-by-step drawing guide below
Step 1. Draw trajectory lines on the blackboard
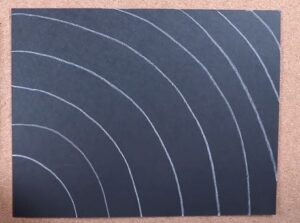
First we draw 9 simulated orbits on a blackboard or black paper.
Step 2. Draw the sun
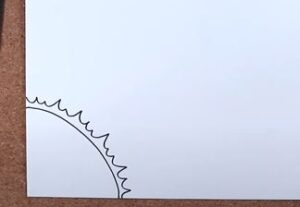
The sun is the center of our universe, but for this solar system tutorial, it will be drawn on the side of the picture.
This will be so we can show the planets later in the tutorial. To start, let’s start with a curved line in the corner of the picture.
Once you’ve drawn this circle, you can then draw a sharp, jagged line along its circumference with lots of points on it for the sun’s rays.
Once done, it’s time for step 2 of the tutorial!
Step 3. Next, draw the first three planets of the solar system
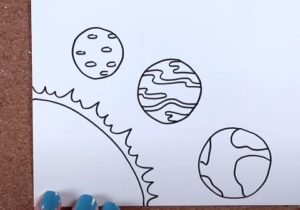
With the sun drawn, we can now start on the first planets of the solar system. For now, we will draw the first three planets.
When drawing these planets we will be using some perfect circles which can be a bit tricky to do by hand.
There are several tools that you can use to make it easier on your own. The best tool to use is a drawing compass, as this allows you to easily draw some perfect circles with your pen or pencil.
Once you have drawn these three planets as they appear in the reference image, you can detail the Earth by drawing some visible continents.
Step 4 – Draw two more planets for the solar system
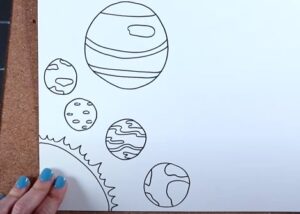
We’ll be adding two more planets in this part of our tutorial on how to draw a solar system. First, you can draw a rather small circle for the next planet.
The planet will then be Saturn, and this planet looks a bit different due to the large ring surrounding it.
Simply draw a large circle with two blanks on the side, and then finish it off with circles using some circles. After it looks like our reference image let’s move on to part 4!
Step 5. Now draw another planet along with some details
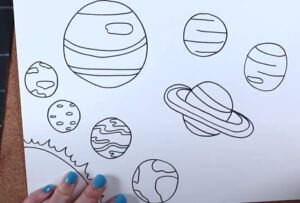
This part of your drawing of the solar system will talk about adding one more planet along with some details for the other planets. First, we will draw Jupiter.
This will be the largest of all the circles, as it is the largest planet in our solar system. After the circle is drawn, you can draw some line details up the planet to give it some surface detail.
Before continuing, you can also add some dotted details for the two nearest planets. Once these aspects are complete, we have some final details to add in the next step of the tutorial.
Step 6. Complete your drawing of the solar system with some colors
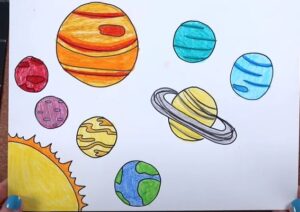
The different planets in the solar system are all different in their shapes and colors. We will complete your drawing of the solar system by adding these colors now.
In our reference image, we’ve shown you the colors you can use for a more accurate look. However, you don’t have to keep it accurate! If you want, you can also use some of your own color choices for the different planets.
Once you’ve chosen the colors you want to use, you can also have fun choosing the art media and tools you’ll use to bring them to life.
Step 7. Cut out the planets
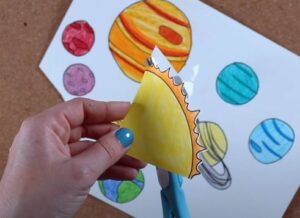
We use manual scissors to cut out the sun and planets we just drew.
Step 8. Glue the sun and planets

Paste the sun and planets in solar system order into The Solar System according to your creative version.
You can see more Space Drawings:

No Responses