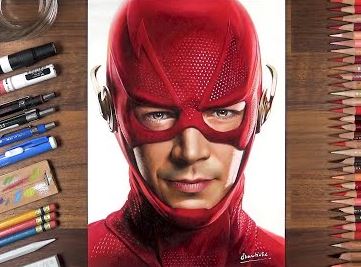
How to Draw Mercury with this how to video and step by step drawing instructions. There are 7 easy steps to follow, You will enjoy creating their own Mercury planet drawing on paper. Also included is a downloadable version of this drawing tutorial.

Please see the drawing tutorial in the video below
You can refer to the simple step-by-step drawing guide below
Step 1. Draw the planet
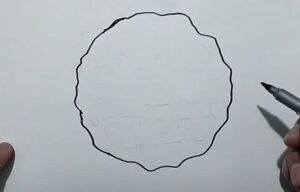
Sketch Mercury’s jagged, rounded shape.
Step 2. Form craters
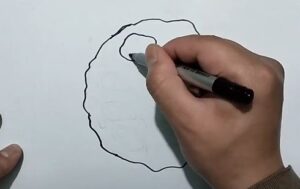
Next, create the outlines of the craters on the planet’s surface.
Step 3. Sketch the inner ring of the crater
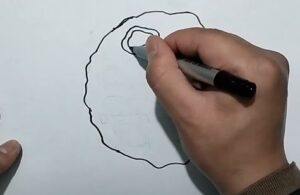
Now add the inner ring of the drawn craters.
Step 4. Draw the inside of the terrain
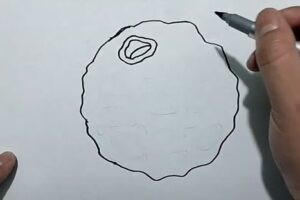
Draw a curved line inside a few craters to form the visible inside of the terrain.
Step 5. Add craters
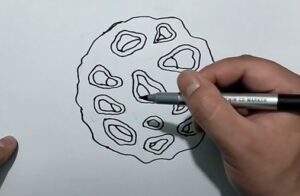
Repeat the same steps to create the craters.
Step 6. Add smaller craters
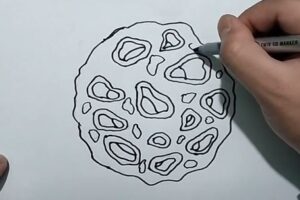
Added smaller oval craters around the planet.
Step 7. Complete the Mercury drawing

Let’s color our drawing of the planet Mercury! First, color the large craters dark blue. Next, fill in the smaller craters with light blue and purple. Then, color the planet’s surface with light blue and purple.
