How to draw Jungkook from K-pop group BTS with this how-to video and step-by-step drawing instructions. Colored Pencil drawing tutorial for beginners and everyone.
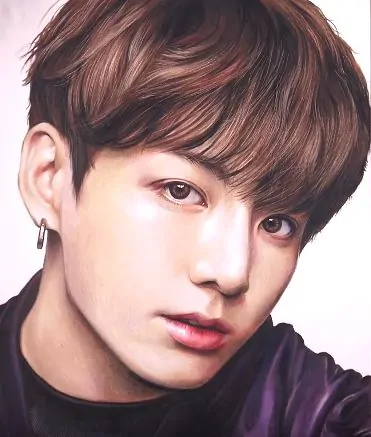
Please see the drawing tutorial in the video below
Jungkook from K-pop group BTS Drawing Step by Step
Step 1. Draw the First Eye

Begin by carefully drawing the first eye. Pay close attention to the shape of the eyelid, iris, pupil, eyelashes, and highlights. Use light strokes at first so you can gradually build up the details.
Step 2. Draw the Nose and Skin Around the Eye

Next, begin adding the skin tones around the eye and develop the shape of the nose. Build the colors gradually with soft, controlled strokes. The nose has a straight, well-defined shape, so carefully observe the highlights and shadows to give it a realistic appearance.
Step 3. Draw the Lips

Continue by drawing the lips and the surrounding area of the face. Add different shades of colored pencil to create the natural shape of the lips, while carefully blending the skin tones around the mouth.
Step 4. Complete the Face

Now continue developing the rest of the face, including the cheeks, jawline, and ear. Gradually build up the skin colors and shadows to create smooth transitions between the light and dark areas.
Step 5. Draw the Hair

Begin working on the characteristic hairstyle. Use layered strokes to follow the direction and flow of the hair. Add darker shades between the strands while leaving lighter areas to create highlights and volume.
Step 6. Draw the Neck, Shoulders and Clothing

Continue the portrait by drawing the neck, shoulders, and clothing. Add the appropriate colors and shadows, paying attention to the way the light falls across the different areas of the portrait.
Step 7. Add the Final Colors and Details

Finally, continue layering and blending the colored pencils throughout the portrait. Strengthen the darker areas, refine the highlights, and adjust the contrast between light and shadow. Carefully balance the colors and details to create a more realistic and harmonious portrait.
Your realistic colored-pencil portrait is now complete! With careful layering, blending, and attention to light and shadow, you can create a detailed portrait with a natural and lifelike appearance.


