How to Draw Jabba the Hutt easy with this how-to video and step-by-step drawing instructions. Easy drawing tutorial for beginners and everyone.
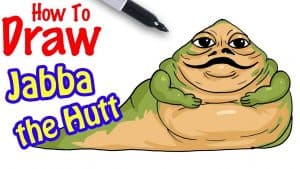
Please see the drawing tutorial in the video below
You can refer to the simple step-by-step drawing guide below
Step 1
Jabba the Hutt is a highly built character, so you’ll have to convey that in the drawing. Draw a large circle for the middle of his body and then draw a mound-like shape over his body. Then you will add the guide lines on the face and then the limbs including the tail.
Step 2
Now you will start outlining the slanted shape of his eyes and then his slanted nostrils. Add the shape of his chubby arms and then draw the thickness of the tail as you see here.
Step 3
Now you will start outlining the wrinkled shape of his body and then outline at the mouth and all the lines on his chest and then his mouth. Add the eyeball and then his short finger shape. You will then draw the remaining shape of the tail as it rolls inward. Draw a piece of cloth lying still next to his wretched body in the slum.
Step 4
This is your final drawing step and as you can see, you will begin to sketch out the detailed lines that make Jabba look gross. Make sure you add all the wrinkles and folds all over his body leaving the middle of his fat belly empty. Under its tail, you can see the circular suction holes like holes. Once you’ve completed this step, you can start erasing all the principles and shapes that you drew in step one to clean up your work.
Step 5
Once you’ve finished your Star Wars character that you drew will appear like the one you see here. All you have to do is add some color and you’re done with this tutorial on how to draw Jabba the Hutt from Star Wars step by step. Learning how to draw Star Wars characters is fun, and when it’s done, you’ll always feel satisfied.
