How To Draw A Cute Griffin (Gryphon) with this how-to video and step-by-step drawing instructions. Easy draw so cute for beginners and kids.
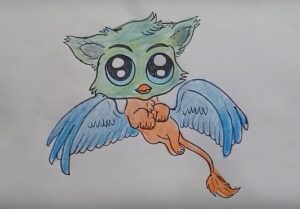
Please see the detailed instructions in the video
Beginners can refer to the simple step by step guide drawing with the pen to sketch below
Step 1. Start with the eyes
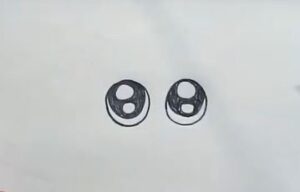
All you’ll do here is draw two circles of a decent size for the eyes, then create eyeballs for them. You’ll add some detail to the bottom of the eyes as you can see here.
Step 2. The Beak
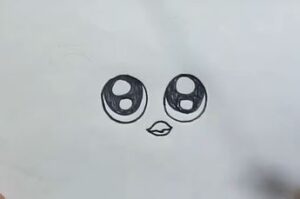
Next draw the beak for the griffin, which is a combination of two small triangles as shown.
Step 3. Finishing the griffin’s head
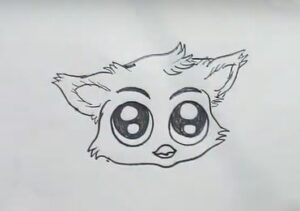
This is where you’ll start sketching out the top shapes of the chibi unicorn’s head and then add some feather details. Next, draw the outline shapes of both ears as you can see here and add the eyebrows. Finish outlining the face and then add details and shape to the inside of the ears.
Step 4. The Wings
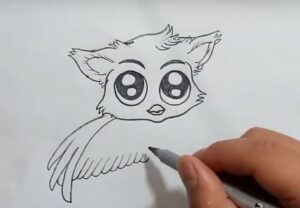
Next draw wide wings for the griffin, then add details to the feathers as you can see here.
Step 5. Griffin Body
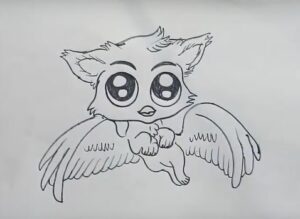
Sketch the shape of the body, then draw the front and back legs and add toes and add chest fur.
Step 6. Tail
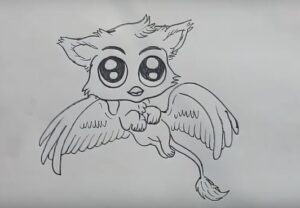
Draw the tail. As you know, all griffins have lion tails, so make sure you add some fur to the tail.
Step 7. Coloring

Now you are done, you have a beautiful drawing. Color the fantasy creature and you are done.
You can see more drawings:



Precisely what I was looking for, regards for putting up.