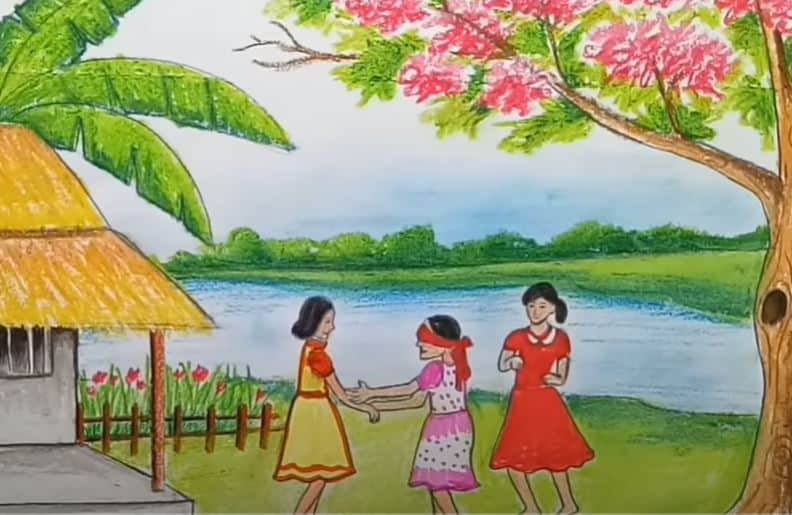
How to Draw a Tree Branch easy with this how-to video and step-by-step drawing instructions. Easy drawing tutorial for beginners and kids.
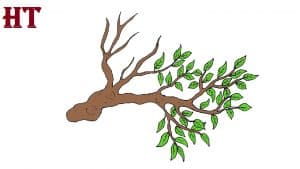
Please see the drawing tutorial in the video below
Tree Branch Drawing Step by Step
Step 1. Branch Base
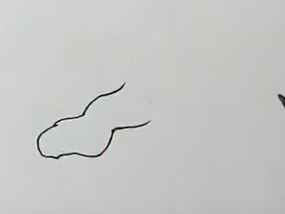
First, we draw a curved, imperfect C-shape for the base of the branch.
Step 2. Add Small Branches
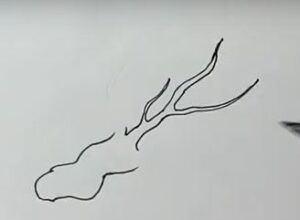
Extend a pair of wavy lines from the opening, forming a branch. Separate the branches several times, connecting each segment with a “V” shape.
Step 3. Add More Small Branches
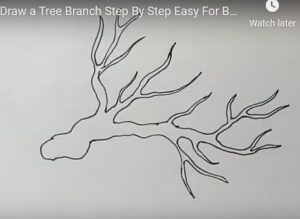
Similarly, from the large branch, we divide more small branches as shown.
Step 4. Nodes
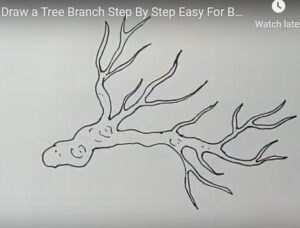
To make the branch more lively, we create some nodes on the branch using small concentric curves that form a circle like a tornado.
Step 5. Add Leaves
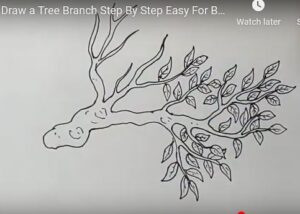
Start drawing leaves along a group of branches. For each leaf, draw two curves protruding from the branch and let them meet at a point. Then, draw a curve down the middle of each leaf to represent the midrib.
Continue drawing leaves on the next group of branches. Again, use a pair of curves for each leaf and a third curve to form the midrib.
Step 6. Color

Color your cartoon tree. Branches typically have brown bark; leaves can be green, yellow, orange, red, brown, or even purple depending on the season and type of tree.
You can see more tree drawings:

