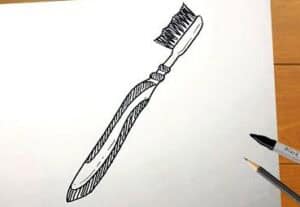
How to Draw a Toothbrush with this how-to video and step-by-step drawing instructions. This instruction contains only six easy steps.

Please see the Toothbrush drawing tutorial in the video below
Now I will show you how to draw a toothbrush. This is an item that both adults and children use every day. Toothbrushes help us take care of our oral hygiene and keep our teeth healthy.
You know that toothbrushes are different – big and small, with different bristles, a variety of colors. In the picture you see the most popular toothbrush. The handle of the brush is designed to be curved, making it comfortable to hold in the hand. medium feathers.
This lesson has six steps. Each step includes a simple action, so you can easily draw this item. In the process of learning, you will find it very simple and you will get a nice toothbrush.
Toothbrush Drawing Step by Step
Step 1. Draw the bottom part of the brush.
Sketch a smooth horizontal line.
Step 2. Draw the brush handle.
Draw a smooth curve at the top, like in the example.
Step 3. Add the brush bristles.
Draw a small oval on the surface of the brush.
Step 4. Sketch the bristles of the brush.
Using short lines draw more bristles on the surface of the brush.
Step 5. Check the drawing.
At this stage, evaluate your work and correct inaccuracies if necessary.
Step 6. Color the drawing.
Use bright green or any color of your choice.


