How to Draw a Steamboat with this how-to video and step by step drawing instructions. Easy boat drawing tutorial for beginners and all.

Please see the drawing tutorial in the video below
You can refer to the simple step by step drawing guide below
Step 1. Draw the ship’s hull
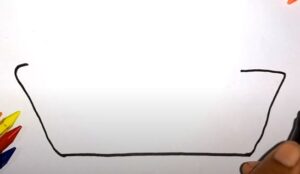
Draw the steamboat hull by first creating an inverted trapezoid with the top open.
Step 2. Draw the middle of the ship
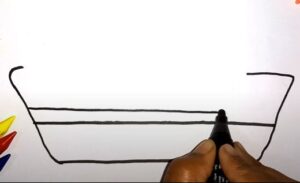
Draw the middle of the ship with 2 parallel lines.
Step 3. Add the top part to the bottom of the ship
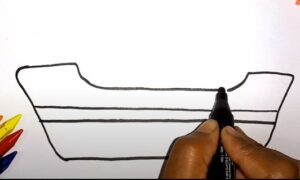
Add the top part of the ship’s lower hull using a curved line as shown.
Step 4. Draw the 1st floor on the ship
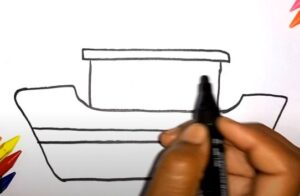
Draw the first floor of the ship using a rectangle.
Step 5. Add window
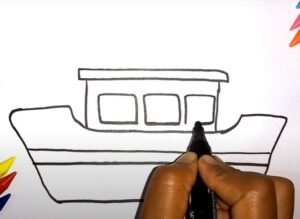
Add small rectangles on the 1st floor of the hull
Step 6. Draw the top floor of the ship
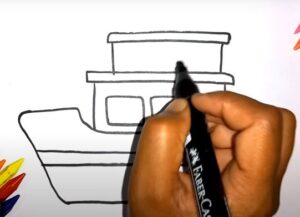
Similarly, draw the top floor of the ice ship’s hull as a smaller rectangle than the boss planting on the first floor. Similarly add a door.
Step 7. Create the chimney
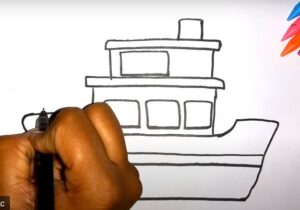
Create a chimney by first forming a vertical rectangle as shown. Now, draw the lining on the chimney by creating a curved line. Next, draw smoke coming from the chimney by creating a bumpy circle.
Step 8. Attach the maritime flag
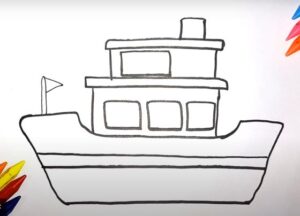
Attach the maritime flag by forming a thin vertical rectangle with a V-shaped line attached to the top.
Step 9. Complete the steamship drawing

Let’s complete the steamship drawing by coloring the top part of the hull with a dark purple pencil. Now, use a red pencil to color the bottom of the hull, the paddle wheel, and the top of each deck. Next, use a white pen to fill in the columns on the deck. Then, color the chimney using red and purple pencils. Don’t forget to color the smoke with a gray pencil. Then, color the nautical flag with an orange pen and the pole with a brown pencil. Finally, use a light blue pencil to shade the sky and a darker blue pencil to fill in the water.




No Responses