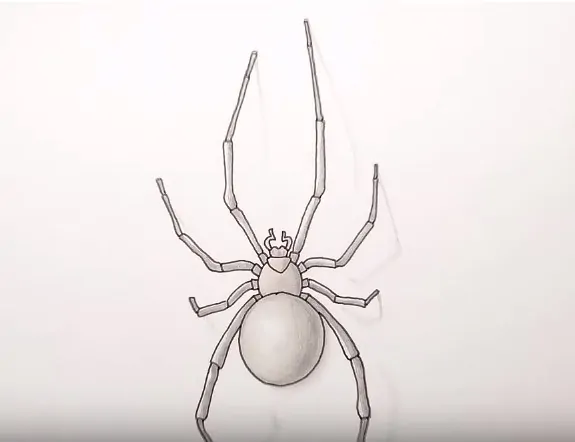
How to Draw a Spider easy Step by Step with this how-to video and step-by-step drawing instructions. Easy animals to draw for kids.
Please see the drawing tutorial in the video below
You can refer to the simple step-by-step drawing guide below
Step 1
Start by drawing a circle. This will be the main part of the body.
Step 2
Next draw a much smaller circle on top of that circle. Add a small “U” shaped head on top of that circle.
Step 3
Start adding the tops to the top left of the top body. The forefoot has three very long and very thin segments.
Step 4
Add a second leg next to it. The segments will be the same size as the segments on the first leg.
Step 5
Next draw the third leg next to the second leg. The third leg also has three long thin sections. It’s slightly shorter than the other two. Unlike the front legs, the third leg drops.
Step 6
Now draw the last leg on the left side of the bottom circle. It also points down and is the longest leg.
Step 7
Continue to add your feet to the right. Start with the front leg. It will be the same size as the front leg on the left. It starts at the right side of the top circle on the opposite side where the left foot forward begins.
Step 8
The second right leg is right next to the first one. It is the same size.
Step 9
Add a third leg to the right. It will be shorter than the first two. Make it the same length as the third leg on the left. Like the third leg on the left, this leg descends.
Step 10
Finally, add the last leg to the right of the bottom circle. It is the longest leg and also just down.