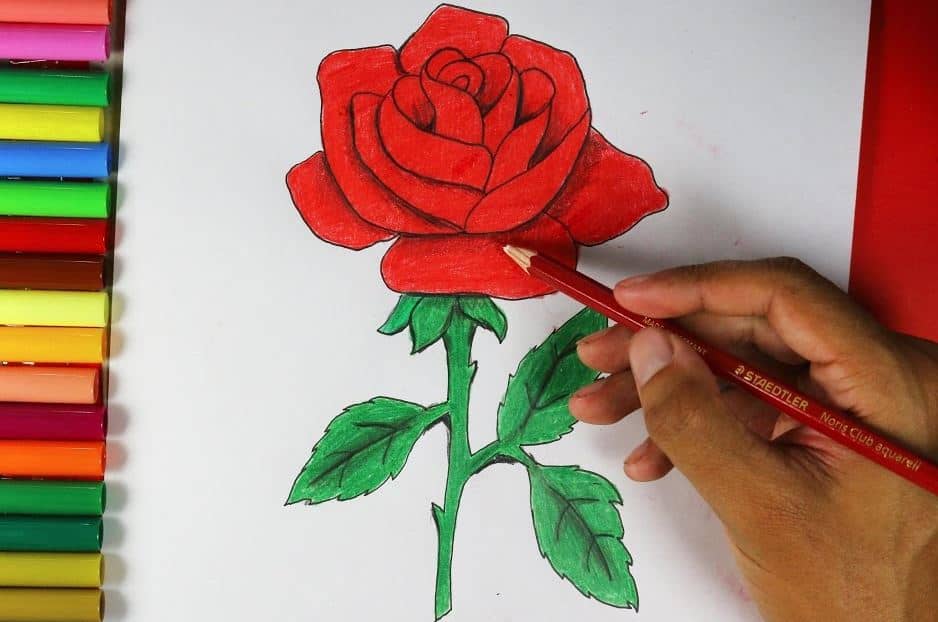
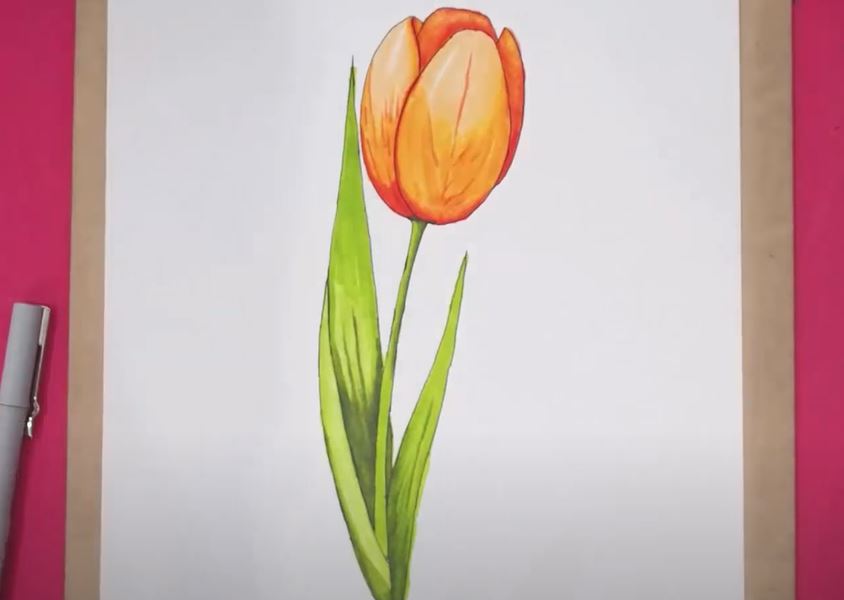
How to Draw a Rose Petal with this how-to video and step-by-step drawing instructions. Pencil drawing tutorials for beginners and everyone.

Please see the drawing tutorial in the video below
In this lesson, you will learn how to draw a rose petal. This will be a very simple lesson consisting of only five steps. You will be able to complete this lesson very quickly and get good results.
Rose petals come in different sizes and round shapes. The figure shows a large petal, usually along the edge of the bud. Rose petals are not perfectly shaped. To depict the outline of the petals, you can use arbitrary lines.
Please note that there is a slight bulge on one side. This is where the petals are attached to the bud. You can use any color to color the petals. It would be nice if you took two different shades and depicted a smooth transition from one to the other.
As you can see, drawing a rose petal is not difficult at all, and any child or aspiring artist can easily draw such a petal.
Material
- Pencil
- Paper
- Eraser
- coloring pages
Rose Petal drawing step by step
Step 1. Draw the outline of the petals.
Draw a circle as shown in the example.
Step 2. Add details.
Continue the lines and draw the rest of the outline, leaving a small space at the same time.
Step 3. Outline the convex part.
Draw a line where the petals attach to the bud, adding the part where the color will be different.
Step 4. Correct the inaccuracies.
Carefully trace the petals along the outer contour.
Step 5. Color the rose petals.
You will need red and light pink.
You can practice more and paint a few more petals of different sizes and colors. I hope that thanks to the lessons presented on this website, you will significantly improve your creativity.
You can see more:


