How to Draw a Pinecone easy with this how-to video and step-by-step drawing instructions. Fruit drawings for beginners and kids.
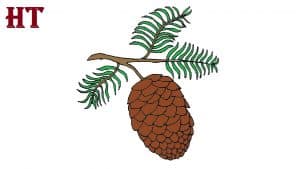
Please see the drawing tutorial in the video below
You can refer to the simple step-by-step drawing guide below
Step 1. Draw the Branch
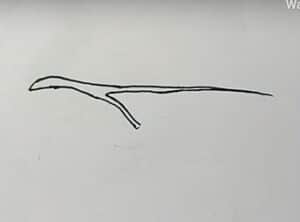
Start by drawing a branch. Use long, curved lines of varying lengths to create the branches. Allow them to meet at sharp or gentle points.
Step 2. Begin Drawing the Pinecone
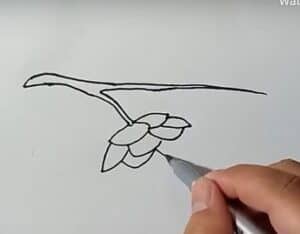
At the bottom of the branch, enclose an unusual shape like a rounded inverted triangle. Then, place a four-sided circle underneath this shape. Finally, place a small rounded triangle underneath the previous shapes. The “leaves” of conifers are called scales.
Step 3. Continue Drawing the Fruit
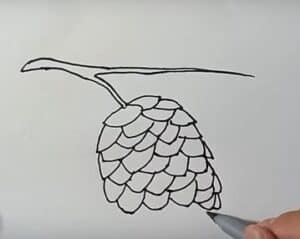
Continue drawing overlapping scales. Note that the scales are shaped like rounded triangles or quadrilaterals, each with points pointing downward.
Step 4. Finish the Pinecone

Continue drawing the pointed scales of the pineapple. Note that the scales themselves are smaller than the scales at the top of the pineapple. Draw pointed, three-sided scales to complete the pine tree shading along the edges and top.
Step 5. Draw the pine needles
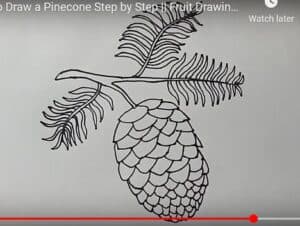
Draw the needles along the longest branch. For each needle, draw two curves and have them meet at a sharp point.
Draw another branch growing from the first branch. Draw a pair of curves and have them meet at a sharp point. Then, draw the pine needles growing from this branch. For each needle, use two curves that meet at a sharp point. Note that the needles near the base of the branch are larger than the needles near the tip.
Draw another branch growing from the bottom of the existing branch. Draw a branch using curves that meet at a point. Then, draw the needles along the branch, using two curves for each straight line, so that they meet at a point.
Step 6. Color

Color the pine cone. Most pine trees are brown in color, which contrasts well with the dark green of the pine needles.
You can see more fruits drawing:
