How To Draw A Mushroom Cloud easy with this how-to video and step-by-step drawing instructions. Easy drawing tutorial for beginners and All.
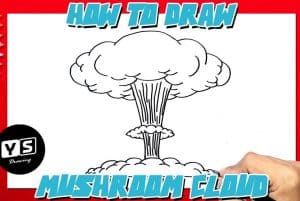
Please see the drawing tutorial in the video below
You can refer to the simple step-by-step drawing guide below
Step 1
As you can see, this will be a very simple drawing lesson to follow. The first thing you want to do is draw a large egg-shaped circle for the top of the cloud. Draw a vertical line to the bottom and add a smaller circle than the egg shape. Then you will add a horizontal line in between the two lines.
Step 2
In this step, you will draw the shape of the cloud itself. You will get this shape on both ends by drawing a series of protrusions until you create a broccoli-like image.
Step 3
This is another easy step because all you will be doing here is drawing more cloud shapes inside the larger clouds. Then you will draw the great line of the circle as shown below. Draw more cloud lines in the lower smoke connecting to the ground.
Step 4
Add more cloud lines inside the larger cloud to complete the shaping. Add some detailed lines to show explosive power. Add a smaller ring inside the larger ring. You will then add lines at the bottom of the trunk to give it a twisted shape as shown below. You will then erase all the guides and shapes that you drew in step one.
Step 5
When you’re done, what your mushroom cloud should look like. All that’s left to do now is color it. I hope you enjoyed this tutorial on how to draw a mushroom cloud step by step.
