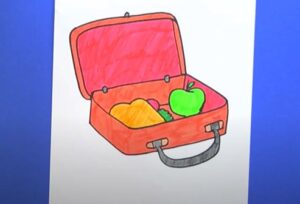
How to Draw a Lunch Box with this how-to video and step by step drawing instructions. Children will have fun learning how to draw a lunch box in 6 easy steps.

Please see Lunch Box drawing tutorial in the video below
You can refer to Lunch Box simple step by step drawing guide below
Step 1. Form the base
Start by drawing a rectangular box to outline the base of the lunch box.
Step 2. Attach the cover
Create another rectangle for the lid of the lunch box.
Step 3. Add handles
Create a thin, curved handle that attaches to the base of the lunch box. Make sure to delete any unnecessary overlapping lines.
Step 4. Draw a piece of bread
Inside the lunch box, draw a piece of bread.
Step 5. Add fruit
Next, add a banana and an apple next to the bread.
Step 6. Complete the lunch box drawing
Add some color to your lunch box! First, use a red pencil to color the apple and a brown pencil for its body. Next, color the banana with a yellow pen. Now, use a light brown pencil for the bread. For the handle, use an orange pencil. Then, color the inside of the lunch box lid with a yellow pencil and the outside with a blue pencil. Finally, use blue and light blue pencils to color the base of the lunch box.


