How to draw a husky puppy easy with this how-to video and step-by-step drawing instructions. Cute Dog drawing for beginners and everyone.
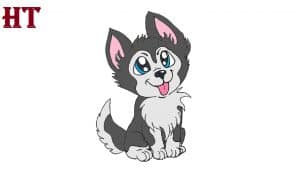
Please see the drawing tutorial in the video below
You can refer to the simple step-by-step drawing guide below
Step 1. Draw the Nose
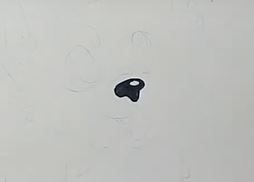
First, draw the Husky Puppy’s signature dog nose as shown.
Step 2. Draw the Eyes
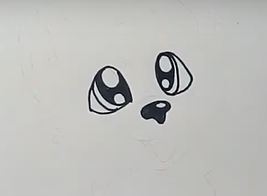
Next, draw the cartoon eyes for the Husky Puppy, which include the eyeballs and irises. The eyes make the puppy look cute so you need to make it look really shiny.
Step 3. Draw the Mouth (snout)
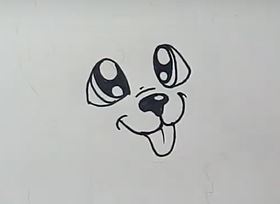
Draw some details on the dog’s nose with two small curved lines, all you have to do next is draw the dog’s mouth or muzzle like this, then pull it out.
Step 4. Finish the Husky Puppy’s Head
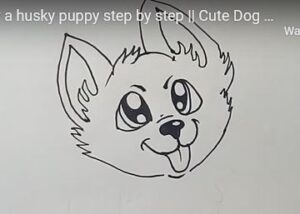
Okay everyone, now you’ll start drawing the dog’s head and you can easily do this by drawing the ears, then drawing the facial structure. Do this by drawing the cheeks with fur or fluff, then draw the bottom of the jaw or mouth.
Step 5. Chest Hair
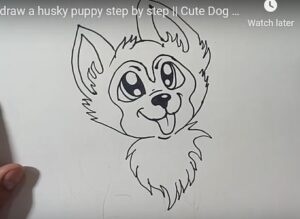
Husky puppies usually have long hair, especially on the chest, so we describe the chest hair of the dog by drawing a heart-shaped hair. Husky has facial markings to distinguish two colors, so add lines to show it as shown in the picture.
Step 6. Draw Legs and Back
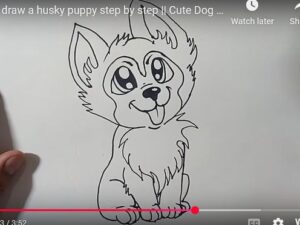
Next, draw the front and back legs of the puppy, extend the head to the back legs to form the back, thus completing the body of the dog.
Step 7. Draw the tail
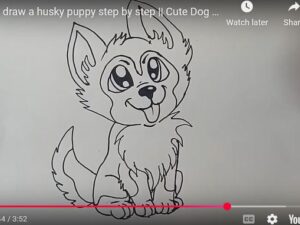
The tail of the Husky Puppy is not too long, add a curve dividing the tail into two parts and the legs as well to show the different colors of the Husky Puppy’s body.
Step 8. Coloring

Finally, color your cute Husky Puppy. Huskies are usually gray and white, but they also come in brown and black.
You can see more dog drawings:
4.5