How to Draw a Dumbbell easy with this how-to video and step-by-step drawing instructions. Drawing lessons for kids and beginners
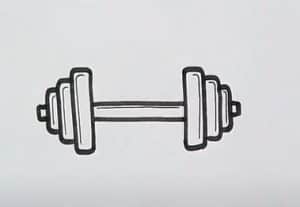
Please see the drawing tutorial in the video below
You can refer to the simple step-by-step drawing guide below
Step 1
As in the dumbbell lesson, the first thing we need to do is draw a straight stick with clear lines. You can draw dumbbells with a ruler, but if you want to learn how to draw straight lines, try not to use it.
Step 2
Now with the help of ovals of different sizes, outline the plates and clamp the dumbbells. When drawing a dumbbell, try to maintain symmetry so that the sketch looks smooth and beautiful.
Step 3
Erase all unnecessary guides and make the dumbbell lines clear and dark. By the way, to check the symmetry of the drawing of sports equipment, look at it in the mirror, and you will see all the inaccuracies and irregularities.
Step 4
Now with the help of bloom feature we draw the drop shadow. It will make our drawing more realistic and voluminous. To darken the shadows a bit, just add an extra layer of bloom.
So that’s a lesson on how to draw a dumbbell. By the way, the drawing process is similar to the training process – the more you train, the better you will be at your job. And if you want to further improve your skills in sketching and drawing all things in the world, subscribe to us on social media and share this drawing tutorial with anyone who wants to get closer to the art.
