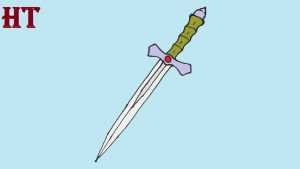
How to Draw a Dagger easy with this how-to video and step-by-step drawing instructions. Easy drawing tutorial for beginners and everyone.
Please see the drawing tutorial in the video below
You can refer to the simple step-by-step drawing guide below
Step 1. Draw the Dagger Grid
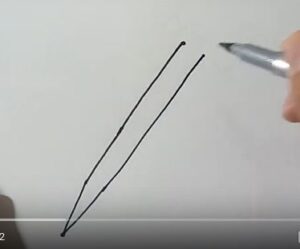
First draw the blade. Extend two long lines from the crossbar, slightly angled towards each other. Do not let the lines meet. Then extend another curved line from the end of each line, at a slightly greater angle. Allow the lines to meet at a sharp point. This creates the end of the blade, called the debole.
Step 2. Add the knife grid detail
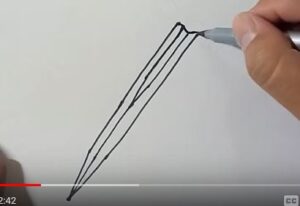
Draw two lines down the middle of the blade, originating from the crossbar. Then draw two short lines to join each of these lines at a sharp point. This type of blade is called a fuller. Draw a straight line from the end of the fuller to the tip of the blade.
Step 3. Dagger handle crossbar
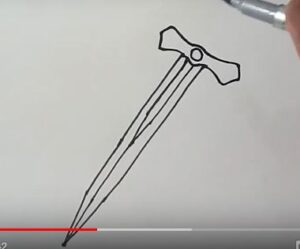
Next draw the dagger handle crossbar. Stretch each line with a curve. Then connect these lines with a curve. Draw two curves that meet at a point, creating a decorative element. Then draw a small circle below this point.
Step 4. Dagger Handle
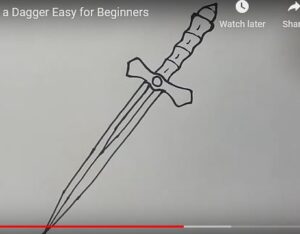
Draw two squares. Place the shapes on a diagonal, one above the other. Notice that the edges of each square curve inwards. This begins the handle or hilt of the dagger. Draw two more squares with concave edges, stacked on top of the existing squares. This continues the length of the handle. Outline the handle with short, curved lines. Use the curves to draw a parallelogram-like shape at the end of the handle. Then, stack a pentagon on top. This forms the sphere of the handle. Draw a rectangle at the bottom of the handle. This begins the outline of the shield or bedsheet to protect the hand.
Step 5. Finishing and Coloring

Color your dagger.
You can see more drawings:


