How to Draw a Chalkboard with this how-to video and step-by-step drawing instructions. Draw along with these clear 6 drawing steps. You’ll learn the fundamentals for drawing a chalkboard like you would find in a school.
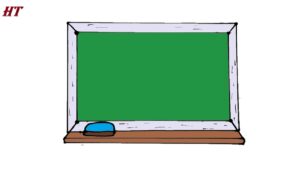
Please see Chalkboard drawing tutorial in the video below
You can refer to Chalkboard simple step-by-step drawing guide below
Step 1. Sketch the shape of the blackboard

Let’s start by drawing a rectangle to create the shape of the chalkboard.
Step 2. Add blackboard frame
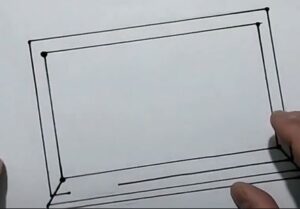
Next, draw a smaller rectangle inside to form the chalkboard and the wooden frame.
Step 3. Attach the chalk tray
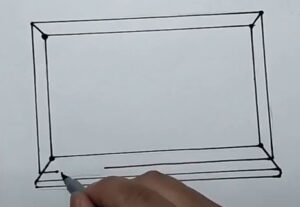
Draw a thin rectangular chalk tray attached to the bottom of the board.
Step 4. Draw a blackboard eraser
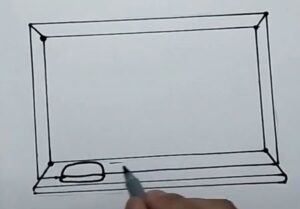
Now, draw a small rectangular blackboard eraser on the chalk tray. Make sure to delete any extra overlapping lines.
Step 5. Add wooden texture to the blackboard frame
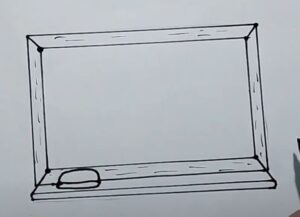
Draw short lines to add wooden texture to the wooden frame of the chalkboard.
Step 6. Complete the blackboard drawing

It’s time to make blackboard drawing colorful! First, use a dark blue pencil to color the board. Next, fill in the wooden frame with an orange pencil and the chalk tray with a brown pencil. Finally, add some yellow and dark green to color the blackboard eraser.
