How to Draw a Bullfrog with this how-to video and step by step drawing instructions. This easy bullfrog lesson is perfect for fairly young students looking to learn how to draw.
Please see Bullfrog drawing tutorial in the video below
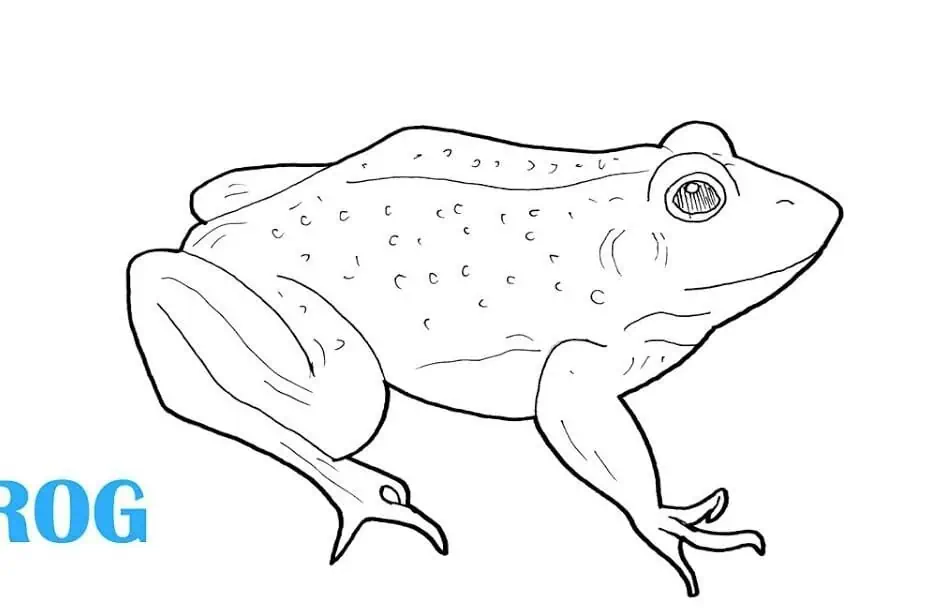
You can refer to Bullfrog simple step by step drawing guide below
Step 1. Sketch the body
Sketch the bullfrog’s oval body. Add small curved lines to form the bumpy texture of the frog’s back.
Step 2. Shape the face
Start by drawing two circles for its eyes. Draw thin ovals inside each eye to add pupils. Now, draw a curved line down above the eye. Next, draw two dots for its nostrils. Then, create a long curved line for its mouth.
Step 3. Draw the lower abdomen
Draw the frog’s abdomen by creating a wavy diagonal line.
Step 4. Add front legs
Create the shape of the bullfrog’s thick front legs similar to the illustration. Don’t forget to erase the body parts that overlap the front legs.
Step 5. Attach the back legs
Draw the frog’s hind legs attached to both sides of the body as shown.
Step 6. Complete the bullfrog drawing
Let’s complete the frog drawing by adding a little color! Use a black pencil to shade its pupils. Next, color its eyes with an orange pen. Now, color the belly and front legs with a yellow pencil. Then, color in the rest of the frog with a dark blue pencil.

