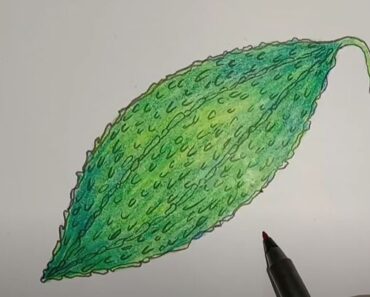
How to draw Pumpkin Patch with this how-to video and step by step drawing instructions. This easy instruction guide is perfect for younger students looking to draw something for Autumn or Thanksgiving!

Please see Pumpkin Patch drawing tutorial in the video below
You can refer to Pumpkin Patch simple step by step drawing guide below
Step 1. Sketch the pumpkin shape
Sketch the bumpy shapes of the pumpkins in the pumpkin patch.
Step 2. Draw the ribs
Draw the ribs of the pumpkin by adding curved vertical lines.
Step 3. Attach the stem
Attach short branches to the top of the pumpkin.
Step 4. Add vines
Add thin, curly vines growing on either side of the pumpkin.
Step 5. Shape the leaves
Create a pumpkin leaf shape attached to the stem as shown.
Step 6. Complete the pumpkin patch drawing
Let’s add some color to our pumpkin patch drawing! First, fill in the tree trunk with a dark brown pencil. Next, color the leaves and vines with a green pen. Finally, color the pumpkin with an orange pen.


No Responses