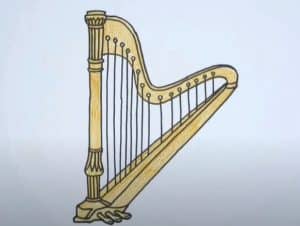
Harp Drawing easy with this how-to video and step-by-step drawing instructions. Easy drawing tutorial for beginners and everyone.

Please see the drawing tutorial in the video below
You can refer to the simple step-by-step drawing guide below
Step 1
Start by drawing a nice frame that looks like an upside down triangle. Draw the base instructions and then move on to the next step.
Step 2
You will now start drawing the beautiful curved neck design seen here and then start drawing more lines to create the shape of the three-dimensional harp. Once you have pulled the neck and turret move on to the next step.
Step 3
This is already the final drawing step and all you have to do is thicken the neck and add strings. Erase all the guides that you drew in step one and then move on to the next step to see how your harp will look when finished.
Step 4
Here you have the finished product. All you have to do is color it in. That should end this tutorial on how to draw a harp step by step.


