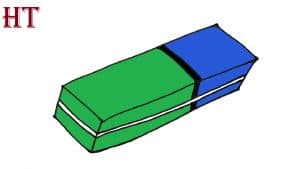
Eraser Drawing easy with this how-to video and step-by-step drawing instructions. How to draw step by step for beginners and kids.

Please see the drawing tutorial in the video below
You can refer to the simple step-by-step drawing guide below
Step 1
Let’s draw an ordinary parallelogram.
Step 2
Now we need to remember the geometry from the school course. Let’s build the figure from the previous step to the parallelepiped. As you can see, we already have the top part and it remains to draw two side parts.
Step 3
In this step, there are no actions in this step except a small correction of the corners. You could see similar angles in the lesson where we covered how to draw an iPhone.
Step 4
Let’s draw several parallel horizontal lines on the front and sides.
Step 5
Let’s draw a shadow on the front of the eraser.


