How to Draw Kelp with this how to video and step by step drawing instructions. Easy plant drawing tutorial for beginners and all.
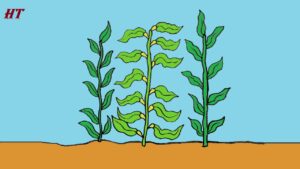
Please see the drawing tutorial in the video below
You can refer to the simple step-by-step drawing guide below
Step 1. Draw the first stem
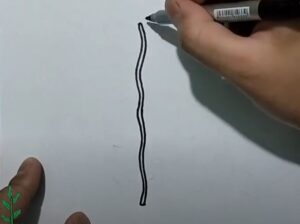
Draw the kelp stem by creating a long thin wavy shape.
Step 2. Draw the leaves
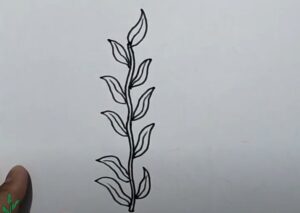
kelp blade’s central rib by creating wavy lines attached to the stem. Using the center rib as a reference, draw wavy lines as shown to form the shape of the leaf like a blade.
Step 3. Draw the second stem
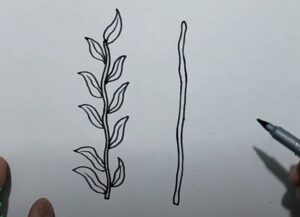
Draw the kelp stem by creating a long thin wavy shape (like the first plant).
Step 4. Attach The Gas Bladder
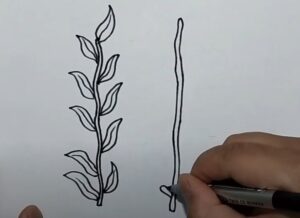
Attach the kelp’s air bubble by drawing elongated, curved lines connecting the stem.
Step 5. Draw leaves
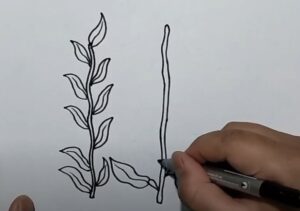
Outline the central rib of the kelp blade by creating wavy lines attached to the air bubble. Using the center rib as a reference, draw wavy lines as shown to form the shape of the blade.
Step 6. Add more leaves
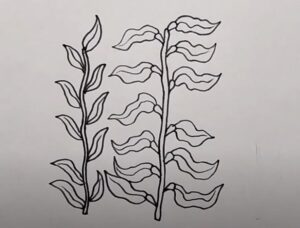
Similarly draw more leaves along the kelp tree.
Step 7. Draw more kelp plants
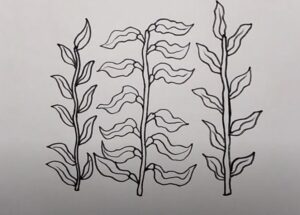
Next, similar to the first kelp tree, we draw another algae tree.
Step 8. Draw the sea bottom
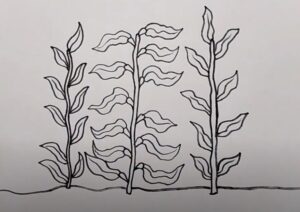
Draw the sea floor by creating a horizontal line. Don’t forget to draw a very short horizontal line at the bottom of the middle kelp stem.
Step 9. Complete and color

Finally, let’s add some color to our kelp drawing! Take a light blue pencil and color the stem and the kelp plates in the middle. Next, use a yellow-green pencil to fill in the kelp’s bladder. Now, use a darker blue to color the kelp on both sides and add depth to the drawing. Then, color the seabed with a light brown pencil and the water with different shades of blue.


