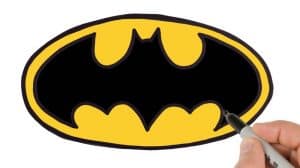
How To Draw The Batman Logo easy with this how-to video and step-by-step drawing instructions. Logo drawing tutorial for beginners and everyone.

Please see the drawing tutorial in the video below
You can refer to the simple step-by-step drawing guide below
Step 1
To get started with the Batman logo, we first need to draw a carrot. This shape will be the centerpiece of the logo and will eventually form both the head and tail of the Batman logo.
Step 2
Next, draw two pointed ears at the top of your carrot shape from the previous step.
Step 3
Erase any overlapping lines and draw two lines extending from each side of the carrot shape. As you can see, the lines begin by curving up in a half-moon shape, then each line extends straight out. These lines will form the upper part of the Batman logo’s wings.
Step 4
Next, draw two curved lines running from the tip of the wing, down to the tip of the tail. Symmetry is key with the Batman logo, so try to make each side as close to the same as possible.
Step 5
Now that you’ve drawn the entire Batman logo, you can erase any overlapping lines left over from the previous steps.
Step 6
Finally, color the Batman icon black or dark gray and you’re done! As you probably know, over time there have been different variations of the Batman logo, but for this approach I decided to go with a more modern one. I hope you enjoyed this guide! Keep drawing!


