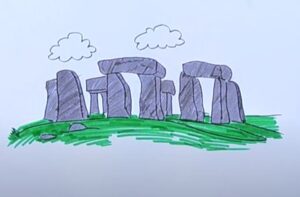
How to Draw Stonehenge with this how-to video and step by step drawing instructions. Included are 6 easy steps to follow, children will enjoy designing their own Stonehenge on paper. Also included is a printable version of this Stonehenge drawing tutorial.

Please see Stonehenge drawing tutorial in the video below
You can refer to Stonehenge simple step by step drawing guide below
Step 1. Create the first shape for Lintels
First, form two thin rectangular stone crossbars.
Step 2. Next Draw the standing stones
Next, draw two vertical rectangles below the left lintel. Form three vertical rectangles below the right lintel. Then add a standing stone at each end as shown.
Step 3. Create more Lintels
Start drawing the fabric straps in the back by forming two thin rectangles.
Step 4. Attach standing stones
Attach two vertical rectangles below each lintel.
Step 5. Add smaller stones
Add smaller stones around the main Stonehenge block similar to the illustration.
Step 6. Complete your Stonehenge drawing
Let’s add some color to our Stonehenge drawing! First, use shades of gray to color the stone. Add shadow to the sides of the stone by using a darker gray. Next, cover the surrounding area with a green pencil. Then, use a darker blue pencil to add some shadow underneath the stones.


