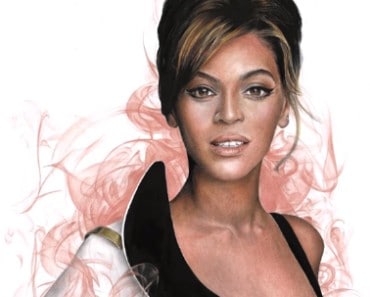
How To Draw Marilyn Monroe easy with this how-to video and step-by-step drawing instructions. Celebrity drawings for beginners and everyone.

Please see the drawing tutorial in the video below
You can refer to the simple step-by-step drawing guide below
Step 1
The first step to drawing Marilyn Monroe is to draw the shape of her head as an elongated circle. Then you’ll also lightly outline the facial guidelines. Now draw a line for her neck and then the initial shape of her shoulders.
Step 2
Now in this step you will start sketching the entire outline of her hairstyle as shown in the illustration. When sketching the hairline, use a serrated outline motion to make the hair look realistic. Next, outline the shape of her upper lash for the eyes, then the shape and shape of her nose and then the shape of her upper lip. Remember to take your time no need to rush. You will also need to shape her jawline.
Step 3
This is where you will sketch her beautiful eyes and how they are slightly open. Marilyn Monroe has gorgeous eyes in the bedroom, so you really want to try and convey that in your sketches. The top of her eyelid should look bold and her lashes look thick. At the same time, pull the eyeball out firmly. Now, sketch the fine lines near her nose and then the famous dot for her facial features. Finish the mouth with the rest of her lower and middle lip. Nest you will sketch out her arched neck as well as shape her left shoulder as shown. Draw her collarbone before leaving this step.
Step 4
All you need to do in this step is outline and then shade over the brows. First outline the shape and make sure you include an arch with those brows, then you’ll shade them in like you see here. Next, brush the lower lashes and start outlining the teeth. Shoulder detail a bit too.
Step 5
This is where you will start sketching very light strands of hair with your sketch tool. Do this until her hair looks very neat and bouncy as shown to you here. Next you can add some shadows to the left of her nose.
Step 6
Paint some more shading for the left side of her face around her nose and along the side of her nose. Then shade in the top part of her right flap. Erase all the guides and visible shapes you drew in step one, then you’re good to go.
Step 7
Here’s what your finished Marilyn Monroe sketch will look like when you’re done. Color her out of your choice or leave her as a complete sketch of you. That should wrap up this tutorial on how to draw Marilyn Monroe step by step using Adobe Photoshop 6 drawing software.


