How to Draw Kakashi Hatake From Naruto with this how-to video and step-by-step drawing instructions. Naruto Character Drawing tutorial for beginners and all.
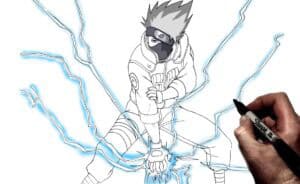
Please see the drawing tutorial in the video below
To easily draw, you need to watch the video and see the instructions below
Kakashi Hatake From Naruto Drawing Step by Step
Step 1. Sketch the Face
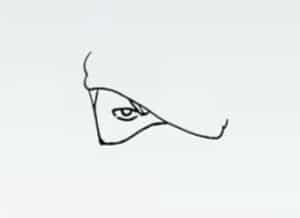
First we need to sketch Kakashi’s face by finishing one of his eyes and you will draw the lining for the headband that covers his left eye. You see this step is quite simple right? however this step is very important as it creates balance for the whole drawing later.
Step 2. Finish Kakashi’s Head
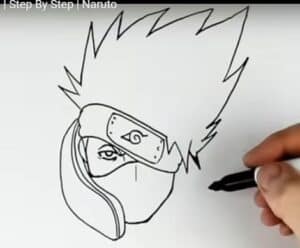
What you will have to do in this step is to finish the face, one side of his face is covered by his collar so we need to add a collar to close the face, and draw the details of his hair. His hair is a thick flame shape so use jagged lines to shape the hair in this tutorial. But for us it is right because we are looking straight at him.
Step 3. Draw the Collar and Shoulders
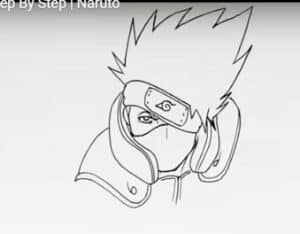
Next draw his neck and shoulders, Kakashi has a cool collar right? it includes some details that make it stand out as shown in the illustration.
Step 4. Draw Kakashi’s Hands
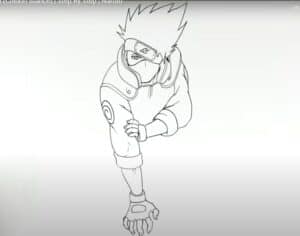
Next draw his hands, draw the wrinkles and folds on the sleeves, then draw his fingers, the details of his gloves.
Step 5. Finish the Jacket
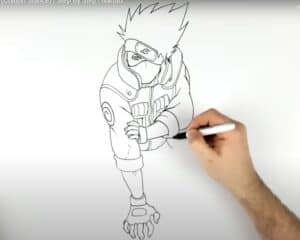
Once done, you can start lining the jacket, starting from the collar and shoulders and continuing down, adding the details of the jacket and pockets.
Step 6. Draw the Legs
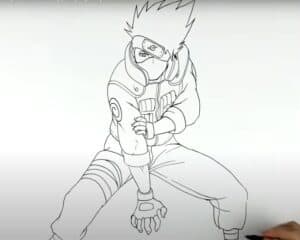
Next draw the shape of his legs and don’t forget to add the folds on the pants and start sketching his feet, paying attention to the calves and ankles that are wrapped in cloth.
Step 7. Add the Lightning

In this step from his left hand we draw a strong electric current concentrated in the palm and radiates around, this is an illustration of Kakashi Hatake’s power.
Step 8. Finishing and coloring
Finally you can color him and you are 100% done. The drawing was fun and I said see you guys and I will end this tutorial on how to draw Kakashi Hatake from Naruto step by step with everyone in peace!



5