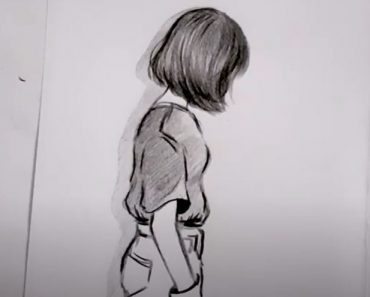
How To Draw Emma Watson easy with this how-to video and step-by-step drawing instructions. Pencil drawings for beginners and All.
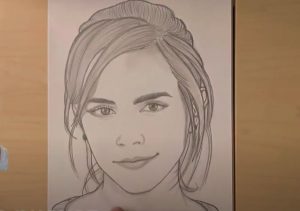
Please see the drawing tutorial in the video below
You can refer to the simple step-by-step drawing guide below
Step 1
To draw Emma Watson, we should first sketch some basic building lines. Use a 2H pencil or harder and draw very lightly so that the lines are easy to erase after we ink. Outline the basic shape of the head and neck. The head should be slightly tilted and looking back over the shoulder. Remember to draw criss-cross construction lines for the center of the face, eyes, nose, and mouth.
Step 2
We should draw her eyes first. Make sure they lie evenly on the horizontal construction line. They must be large almond shaped. Make sure that the iris and pupil are looking in the same direction. Draw thick eyelashes near the outer corner of the eye. Also draw thin folds above and below each eye for the eyelids.
Step 3
Her eyebrows are thin and well-groomed. Her right eyebrow might be slightly arched, but her left should be pretty straight. The left eyebrow will appear longer due to our angle of view.
Step 4
Her nose is small and points upwards at the tip. We should be able to see her nostrils from this angle. The bridge of the nose is very straight, but we don’t need to draw the top of it. By drawing the lower half of the nose, it creates the illusion that the upper half is there. Use your vertical guide to help position the nose. The bottom should end halfway between the eyes and chin.
Step 5
Her mouth should be between her nose and chin. Her upper lip is about the same thickness as her bottom lip. There is a clear V-shape in the middle of her upper lip. The lower lip should just be a smooth, curved line extending from the corner of the mouth to the corner of the mouth.
Step 6
Now draw the outer contours of her face and jawline. She has a slim jawline but a slightly protruding chin.
Step 7
We can only see her left ear from this angle. Her ears are a bit big. The top of the ear should be in line with the eyes, the bottom of the ear should be in line with the upper lip. Draw more folds inside the ear.
Step 8
Her hair is straight and ends at the shoulders. Start at the center of her head and draw long curls that fall down all sides of her head. A large tuft of hair almost covers his right eye and wraps around his face. A lock of hair will rest on top of her ear. The ends of her hair should merge together into big spots.
Step 9
Her neck should be slim and have smooth curves – not just straight lines. Notice how the right side of her neck has a sharp, diagonal line towards her midsection. This is because her head is rotated.
Step 10
Give her a coat. Draw a thick collar from the sides of the neck down, as well as a few folds in the fabric on her upper shoulders.
Step 11
Now we’re done with the pencil drawing of the image and we can move on to the inks. Use a Micron marker, or an Indian marker and ink to make your ink. A brush that works well when brushing long hairs. Carefully go through each line with patience and make sure not to smudge any lines of instructions. Once the ink is completely dry, erase your pencil marks with a kneaded eraser.
Step 12
You can give the image a greater sense of depth by casting shadows on it. Use a marker or marker and ink to shade. Set up your light source and black out the opposite side of the shape’s features. In this case, the light is coming from the left side of the page. A brush that works effectively to give shine to the hair.
Step 13
And you’re done! If you need to edit, you can use white ink or opaque white paint. You can also use it to insert highlights if needed, such as hair or the pupils of your eyes. And that’s how you draw Emma Watson! Very good!
