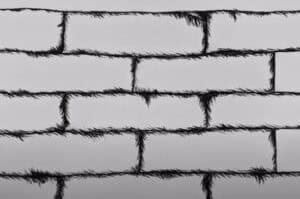
How to Draw Bricks with this how-to video and step-by-step drawing instructions. This lesson will be very simple, at the same time very useful for you.

Please see Bricks drawing tutorial in the video below
In this lesson, you will practice your ability to draw smooth, straight lines and gain useful skills that will be useful to you in the future. You will learn how to draw bricks and use this in your next drawings.
For example, you can easily draw a house made of bricks or you can use bricks for decorative purposes. Drawing bricks is very easy. Just remembering the sequence of steps and creating straight lines is enough.
In the picture, you can see that the brick wall consists of horizontal and vertical lines that are linked together in a certain way. Make sure that the spacing between rows of bricks is the same and that all bricks are the same size.
Materials
- Pencil
- Paper
- Eraser
- Coloring supplies
Bricks Drawing Step by Step
Step 1. Draw the frame.
Determine what size your drawing will be and draw an even square.
Step 2. Add the first row of tiles.
Determine the height of the bricks and draw a horizontal line on the top of the frame.
Step 3. Draw the next row of bricks.
Draw another line as in the previous step.
Step 4. Add the next row of tiles.
Repeat the previous step and draw a horizontal line underneath.
Step 5. Continue adding rows of bricks.
Sketch another line at the same distance.
Step 6. Finish drawing the horizontal lines.
At this stage, describe the final horizontal line.
Step 7. Start drawing the side contours of the brick.
Draw short vertical lines between the top rows.
Step 8. Add side borders at the bottom of the frame.
Repeat the previous step and depict the same vertical lines at the bottom of the frame.
Step 9. Color the bricks.
You will need brown.
You can see more drawing:


