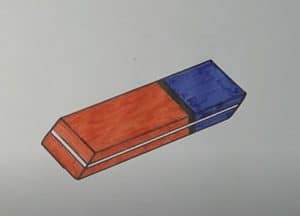
How to Draw an Eraser easy with this how-to video and step-by-step drawing instructions. Easy drawing tutorial for beginners and kids.

Please see the drawing tutorial in the video below
You can refer to the simple step-by-step drawing guide below
Step 1
Let’s draw a normal parallelogram.
Step 2
Now we have to remember geometry from the school course. Construct the figure from the previous step into a parallel shape. As you can see, we already have the upper part and it remains to draw the sides.
Step 3
In this step, there is no action in this step for minor modifications to the corners. You can see similar angles in the lesson where we showed how to draw an iPhone.
Step 4
Let’s draw some parallel horizontal lines on the front and side faces.
Step 5
Let’s draw a shadow on the front of the eraser tool.


