How to Draw an Eel with this how-to video and step-by-step drawing instructions. Easy animals to draw for beginners and everyone.
Please see Eel drawing tutorial in the video below
Eel Drawing Step by Step
Step 1.
First draw a circle for the head and then add a line for the nose of the fish. Next draw a long squiggly line for the body.
Step 2
Now in this next step you will first draw a circle for his little eye. Now draw the shape of his jaw and then start drawing the lining for his ribbon-like body as shown to you here. After you complete this step, make sure everything is correct before continuing.
Step 3
Now add an eyeball and then a set of sharp teeth. Start drawing the body liner to complete the jaw line that is attached to the body from below the jaw. Now, on top of the eel’s head, start drawing a flap of excess skin for the fins. Draw this line all the way to the end.
Step 4
This is the final step and all you will do is finish the body liner as shown. Once that’s done, you can erase all the guides and shapes that you drew in step one.
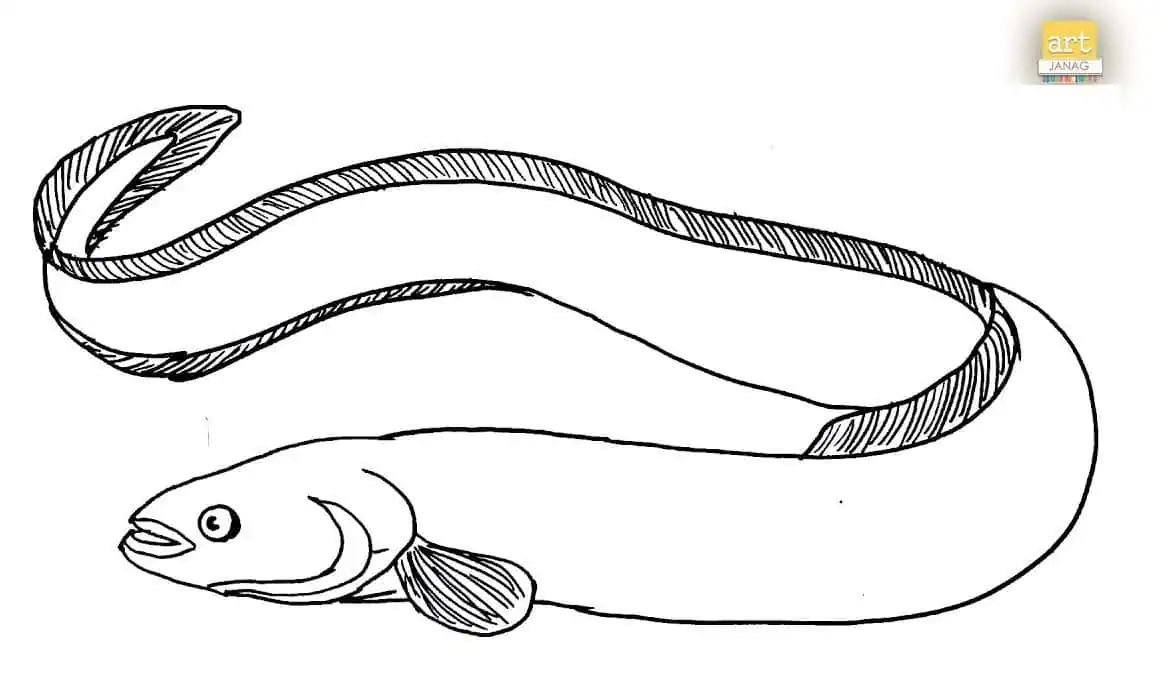
Step 5
When you’re done, this is what you should end up with. Color him, give him a marker and you’re good to go. I hope you found this tutorial on how to draw a moray eel step by step helpful. I will be back again with more tutorials soon.


