How to Draw a Saint Bernard easy with this how-to video and step-by-step drawing instructions. Dog drawing tutorial for beginners and all.
Please see the drawing tutorial in the video below
You can refer to the simple step-by-step drawing guide below
Step 1
Start with a total of three circles. First with the head shape and then add the face guides. Then you will draw a circle for the middle of the dog and then the bottom of the butt. Add a line for the front leg and then move on to the next step.
Step 2
You will now begin to outline the underlying shape of the dog’s body as seen here. Draw starting lines for the back and front legs. Outline its floppy ears and the lips of its snout. Then you can move on to the next step to see what it takes in you to make your Saint Bernard even more alive.
Step 3
As you can see your dog starts to look more realistic once this step is complete. All you have to do is outline the rest of the dog’s body and make sure you point out the jagged parts as this breed has a lot of hair. Draw the eyes using the face guides you drew in step one. Add the shape of the nose and then the tongue sticking out of the mouth. Now you will outline the front leg, then the back leg and the front leg.
Step 4
You’ll start out sketching the markings on Bernard’s body and then finish outlining the hidden thighs and feet. When drawing the rest of the body and the markings, you will have to make the lining look hairy like you see here.
Step 5
This is your final drawing step and what you will do now is finish the lining of its body including its tail. Detail and define her body and add some hairline. Outline the markings on his right side and then detail his tongue. Erase the principles and shapes that you drew in step one.
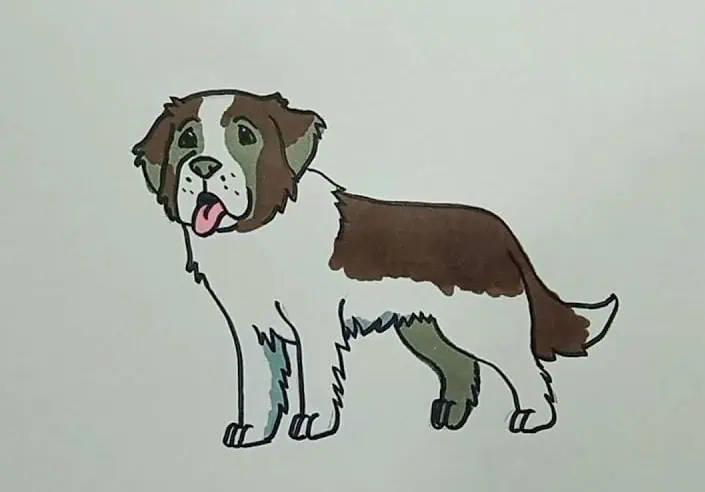
Step 6
Here’s what your big dog will look like when you’re done. All you have to do now is color him and you’re done. This concludes this tutorial on how to draw a Saint Bernard dog step by step.


