How to Draw a River with this how to video and step by step drawing instructions. Scenery Drawing tutorial for beginners and everyone.
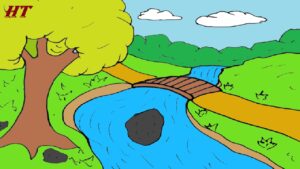
Please see the River drawing tutorial in the video below
You can refer to River simple step-by-step drawing guide below
Step 1. Attach a bridge
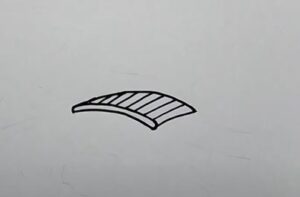
Attach a bridge connecting the walkways by first creating the outline of a rectangular box that curves down. Next, add the plank texture by creating repeating lines on the bridge.
Step 2. Form the edge of the river
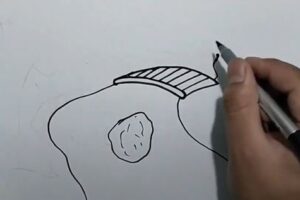
Let’s form the riverbank by drawing lines following the shape of the terrain as shown.
Step 3. Draw the current
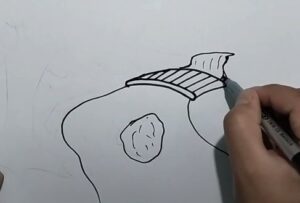
Draw the river’s flow by drawing lines following the shape of the river.
Step 4. Draw the terrain
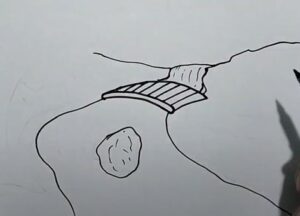
Let’s start creating the shape of the river by drawing the terrain around it as shown in the illustration. Then add some grass by drawing pointed shapes.
Step 5. Add route
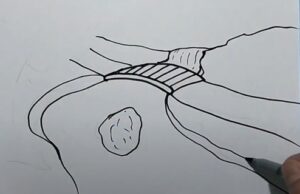
Add a path in the lawn by drawing wavy lines.
Step 6. Draw the tree trunk
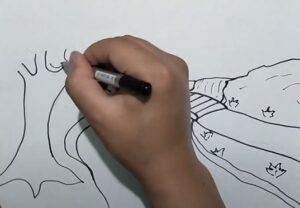
Create a vertical shape as shown to draw the tree trunk. Add vertical lines to create texture on the surface of the stem.
Step 7. Add the leaves of the plant
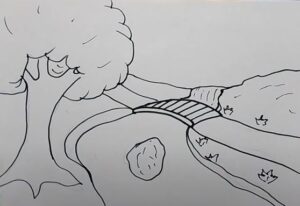
Add the tree’s leaves by first drawing a bumpy circle on top of the tree’s trunk. Don’t forget to draw the leaves attached to the branches by creating curved lines..
Step 8. Draw the background
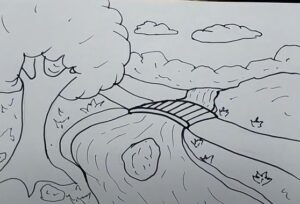
First, draw the distant terrain in the background by creating a bumpy line. Next, form the clouds by creating bumpy circles.
Step 9. Complete the river drawing

Let’s color the river with a blue pen. Next, use a yellow-green pen to shade the leaves. Now, use a brown pen to color the tree trunk and bridge. Then, color in the grass with a green pencil and the distant terrain in the background with a darker blue pencil. Don’t forget to color the road with a light orange pen and the land at the edge of the river with a light brown pen. Finally, fill in the sky with a light brown pencil and the clouds with a white pencil.
