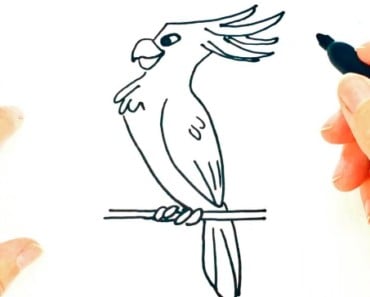
How To Draw A Penguin step by step easy with this how-to video and step-by-step drawing instructions. How to draw a bird for beginners and everyone.

Please see the drawing tutorial in the video below
You can refer to the simple step-by-step drawing guide below
Step 1
First draw mine. Think of a horizontal “V” shape. There are two very sharp parts. The tip is twice as long as the bottom.
Step 2
Now draw the little eye just behind the middle of the line. Draw the rest of the head. The top part is a curve about the length of the top mine. The bottom part of the head is a straight line, short on an angle. Draw a short curve in between the ends of these two lines. This short curve becomes the top part of the wing.
Step 3
Draw an oval with a long oval shape. Curves downward and slightly upward in front of the bottom. Belly curve almost straight down and bend strongly at the bottom. Makes the belly a little longer than the back.
Step 4
Continue abdominal traction to draw a very short leg with a flat foot. The back of the foot will not touch the back.
Step 5
Immediately after that, draw a short tail. It is the width of the foot. The back of the tail will connect to the back row. Starting from the bottom of the bumpy bit on the head draw a long line to make the front of the wing. Just above the curve of the wing curve back. The back of the wings will only go half-back.
Step 6
Add the other leg to your first leg. It will be the same size. Do not forget your flat feet.
Step 7
Color the penguin so that it looks more realistic with black back and head, white belly.
You can refer to How to draw a cute Goat on my website, video tutorials and step by step tutorials.


No Responses