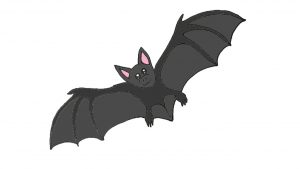
How to draw a Bat easy for beginners with this how-to video and step-by-step drawing instructions. Easy animals to draw for children and everyone.
Please see the drawing tutorial in the video below
You can refer to the simple step-by-step drawing guide below
Step 1
Start by drawing two large ears facing right next to each other.
Step 2
Next draw the face with the short muzzle, the muzzle. Two sharp fangs pointing down from the mouth.
Step 3
Draw the body. Create a circle from the outside of one ear down and around to the other.
Step 4
Next we add two legs. Draw them on the bottom of the abdomen but not next to each other. They are very thin.
Step 5
Add the left wing. Think of an inverted ‘J’. Make a small half hook along the wing.
Step 6
Just opposite the hook you made in Step 5 add your fingers. It was as thin as a leg.
Step 7
Add another finger right next to the first finger.
Step 8
Next we draw the wings on the other side of the head. Create a long thin curve. Add another hook in the middle of the top wing.
Step 9
On the elbow hook add a long and slender finger. Right next to that finger draw another like it. Draw wings. Track two curves from the tip of your finger and wing. Do this on both wings.
Step 10
Finally add the tail and the rest of the wings. Draw a tail at the bottom of the abdomen. Add curves from the second finger to the foot. Add another curve to the bottom of the tail. Let’s black the bat.

