How to Draw a Pencil Sharpener easy with this how-to video and step-by-step drawing instructions. Learn to draw for beginners and kids.
Please see the drawing tutorial in the video below
You can refer to the simple step-by-step drawing guide below
Step 1
First thing, first draw the general outline of the pencil sharpener. Note that it should narrow to the back.
Step 2
In the upper part, draw holes for the blade and shavings to come out.
Step 3
In this step, pull out the blade itself and unscrew the blade holding screw. By the way, if it is too difficult to draw all these lines, you can use a ruler. But of course it would be nice if you could draw straight lines without it.
Step 4
Continue drawing tutorial on how to draw pencil sharpener step by step. And in this simplest step we just need to draw holes for the pencil in a circle or oval shape (depending on the viewing angle).
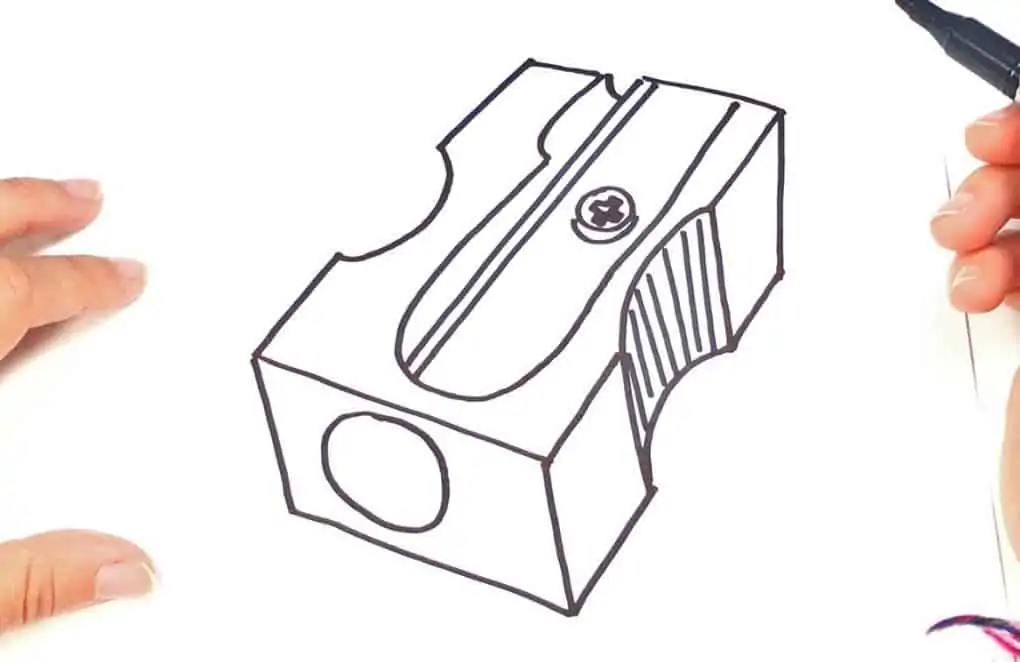
Step 5
So the tutorial slowly ends and comes to the point where we need to add the drop shadow. Add a shadow inside the hole for the pencil and a lighter shade on the side of the pencil sharpener.
It’s not the most complicated drawing tutorial but as a result we get such a realistic pencil sharpener. By the way, if you want to find something on our site, use the “search” button at the top of the page. But if you don’t find it, write about it in the comments and we will make such a guide.


